Easy Guide: How to Install Water Heater Expansion Tank
A water heater expansion tank is a crucial safety device that protects your plumbing system from excess pressure. By following the correct installation process, you can ensure the proper functioning and longevity of your water heater.
Are you looking to install a water heater expansion tank on your own? In this guide, we will walk you through the step-by-step process of installing a water heater expansion tank, providing you with the knowledge and confidence to tackle this DIY project. Let’s get started!
Key Takeaways:
- Installing a water heater expansion tank is important for protecting your plumbing system from excess pressure.
- Follow the correct installation process to ensure proper functioning and longevity of your water heater.
- Gather all the necessary tools and materials before starting the installation.
- Choose the right location for the expansion tank to ensure easy access and maintenance.
- Follow safety precautions to prevent accidents during installation.
What is a Water Heater Expansion Tank?
A water heater expansion tank serves an essential role in maintaining the integrity of plumbing systems. Its purpose is to alleviate excess pressure that can build up as water is heated and expands. Without an expansion tank, this increased pressure can lead to issues such as leaks, burst pipes, or damage to the water heater itself.
So how does a water heater expansion tank work? When the water in a closed plumbing system is heated, it naturally expands. The expansion tank acts as a safety valve, absorbing the expanded water and preventing it from causing strain on the system. This helps to maintain a consistent pressure and temperature within the water heater, ensuring its longevity and reducing the risk of damage.
The benefits of installing a water heater expansion tank are numerous. First and foremost, it provides protection for the entire plumbing system, preventing excessive pressure that can lead to costly repairs or replacements. Additionally, it helps to regulate water pressure, reducing the strain on pipes, fittings, and fixtures. By alleviating excess pressure, an expansion tank can also contribute to energy efficiency by reducing the frequency of pressure relief valve discharge, ultimately saving energy and prolonging the life of the water heater.
Installing a water heater expansion tank is an important step in protecting your plumbing system and ensuring its longevity. It helps to regulate water pressure, prevent leaks, and reduce strain on the system. By absorbing expanded water, the expansion tank plays a crucial role in maintaining the efficiency and effectiveness of your water heater.
Tools and Materials Needed for Installation
To successfully install a water heater expansion tank, it is important to gather all the necessary tools and materials beforehand. Having everything ready will ensure a smoother installation process and minimize interruptions. Here are the tools and materials you will need:
- Pipe wrench or adjustable wrench: This tool is essential for loosening and tightening pipe fittings.
- Teflon tape or pipe joint compound: Use Teflon tape or pipe joint compound to create a secure seal between threaded connections.
- Pipe cutter or hacksaw: A pipe cutter or hacksaw will be necessary for cutting pipes to the desired length.
- Fittings and connectors: You will need various fittings and connectors to connect the expansion tank to the plumbing system.
- Safety goggles and gloves: It is important to protect yourself during the installation process by wearing safety goggles and gloves.
- Towels or rags: Keep towels or rags handy to clean up any spills or leaks.
- Bucket or container: Use a bucket or container to catch any water that may be discharged during the installation.
Having these tools and materials readily available will make the installation process more efficient and help you complete the job successfully.
https://www.youtube.com/watch?v=P9iQxYQc2J0
Choosing the Right Location for the Expansion Tank
Best placement for expansion tank
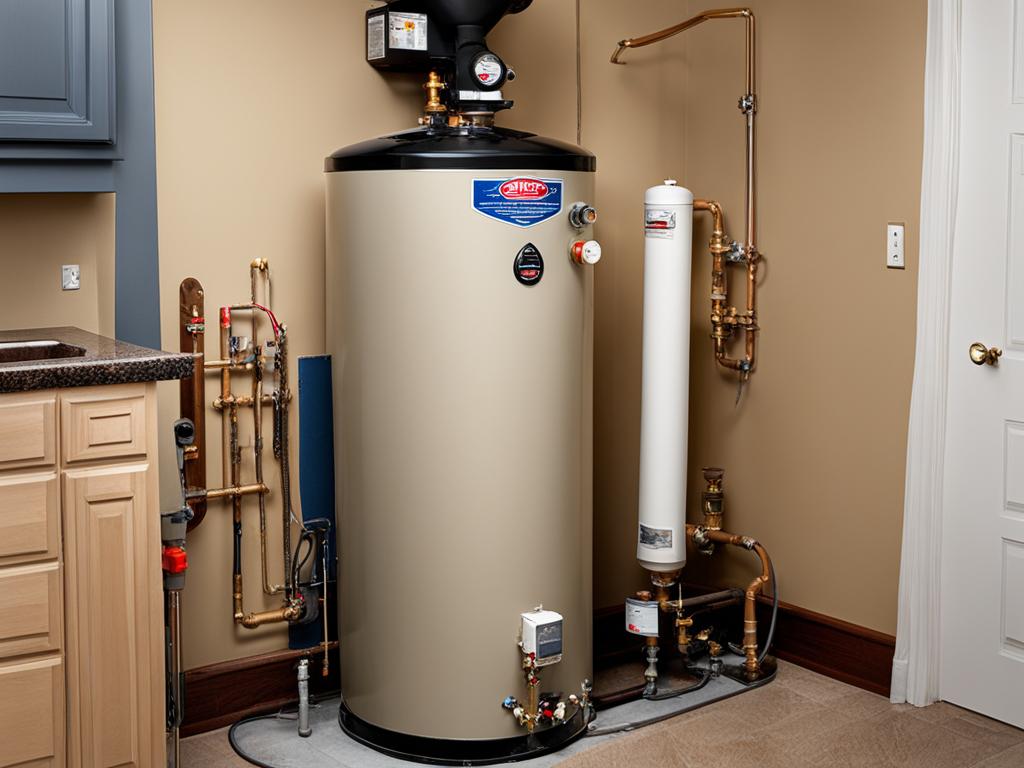
When it comes to choosing the right location for your water heater expansion tank, there are a few factors to consider. The expansion tank should be installed on the cold water supply line, preferably near the water heater. This allows for easy access and ensures that the tank is positioned in a convenient location for future maintenance.
It’s important to choose a location that provides sufficient clearance for the expansion tank. This ensures that you can easily inspect and service the tank when needed. Make sure there is enough space around the tank for you to maneuver and access the necessary valves and fittings.
Additionally, consider the weight of the expansion tank when choosing its placement. Ensure that the location can support the weight of the tank and any associated pipes and fittings. A sturdy wall or support structure is ideal for mounting the expansion tank.
| Factors to Consider | Best Placement |
|---|---|
| Proximity to water heater | Install near the water heater |
| Easy access for maintenance | Choose a location with sufficient clearance |
| Weight support | Ensure a sturdy wall or support structure |
By carefully considering these factors and selecting the best location for your expansion tank, you can ensure optimal performance and longevity of your plumbing system.
Shutting off the Water Supply and Draining the System
Before starting the installation process for the water heater expansion tank, it is crucial to shut off the water supply to the house. This ensures that there is no water flowing through the pipes while you work. To achieve this, locate the main water shut-off valve, which is typically located near the water meter. Turn the valve clockwise until it is fully closed, cutting off the water supply to your home.
After shutting off the water supply, it is important to drain the water heater to relieve any built-up pressure. Start by opening a hot water faucet in your home to allow the pressure to escape. Then, locate the drain valve on the water heater. Attach a hose to the drain valve and place the other end into a suitable container or drain. Slowly open the drain valve to begin draining the water from the tank. Take caution as the water may be hot.
Once the water heater is fully drained, close the drain valve and remove the hose. This step ensures that there is no water in the system while you install the expansion tank, preventing any potential leaks or accidents. It is also important to note that if you have a gas water heater, you should turn off the gas supply to the unit before proceeding with the installation.
By shutting off the water supply and draining the system, you create a safe working environment for the installation of the water heater expansion tank. This allows you to confidently proceed with the next steps, ensuring a successful installation.
Step-by-Step Installation Process for Water Heater Expansion Tank
Installing a water heater expansion tank is a straightforward process that can be completed with basic tools and materials. By following the step-by-step guide below, you can ensure a successful installation:
Step 1: Gather the necessary tools and materials
Before starting the installation process, gather all the required tools and materials. This includes a pipe wrench or adjustable wrench, Teflon tape or pipe joint compound, pipe cutter or hacksaw, fittings and connectors, safety goggles and gloves, towels or rags, and a container for catching water.
Step 2: Turn off the power and gas
Prior to installation, it is important to turn off the power and gas supply to the water heater. This ensures your safety during the installation process.
Step 3: Shut off the water supply
Next, shut off the main water supply to your house. This will prevent any water from flowing while you install the expansion tank.
Step 4: Drain the water heater
To drain the water heater, attach a hose to the drain valve and direct the water into a suitable container or drain. This step is crucial to relieve pressure and ensure a smooth installation process.
Step 5: Install the expansion tank
Begin by attaching a dielectric union to the cold water supply line. Then, connect the copper adapter and T fitting, ensuring a secure connection with the appropriate use of Teflon tape or pipe joint compound. Finally, mount the expansion tank to the system, making sure all connections are tight.
Step 6: Check for leaks and test the system
After the tank is installed, carefully check for any leaks. This can be done by visually inspecting the connections and using soapy water to identify any bubbles. Once you are confident there are no leaks, turn the power and gas supply back on and test the system to ensure everything is functioning properly.
Step 7: Complete the installation
Once the installation is complete and the system is functioning correctly, clean up any debris and discard the materials used during the installation process. Keep in mind that regular maintenance and monitoring of the expansion tank is essential for its optimal operation.
Safety Precautions During Installation
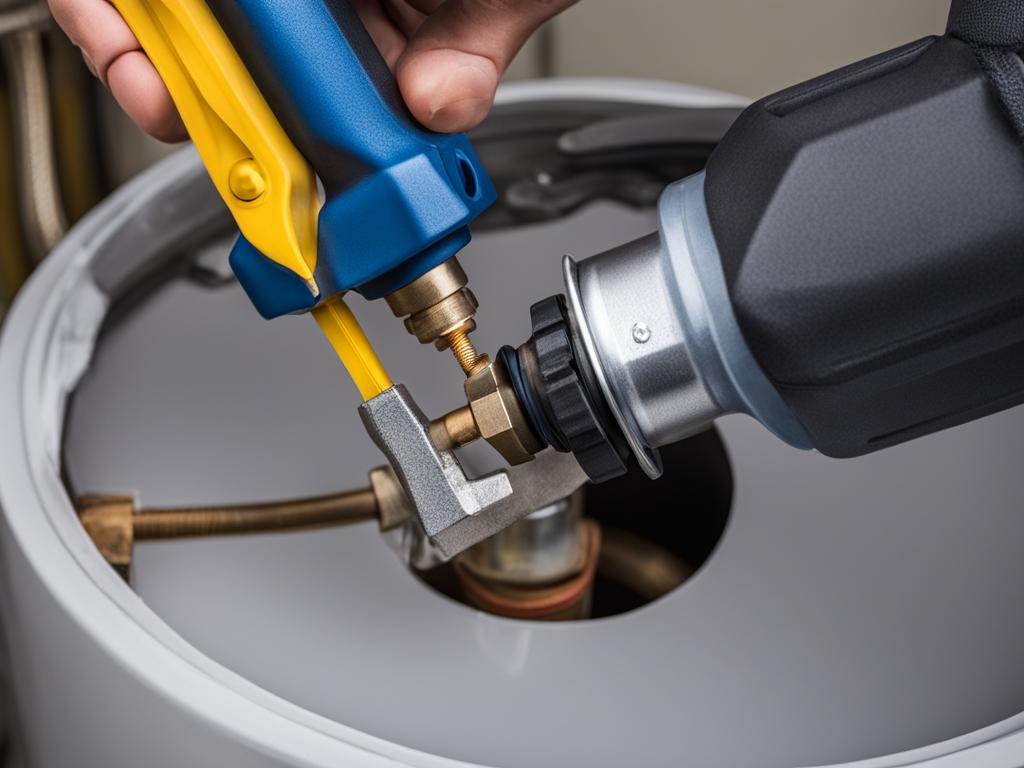
When installing a water heater expansion tank, it is crucial to prioritize safety to ensure a successful and risk-free installation. Here are some important safety precautions to keep in mind:
- Turn off the power and gas supply: Before starting the installation process, switch off the power to the water heater at the breaker box and turn off the gas supply valve to avoid any potential electrical or gas-related accidents.
- Shut off the water supply: Close the main water supply valve to prevent water from flowing into the plumbing system during the installation. This will help avoid unnecessary water leaks or damage.
- Drain the water heater: Before detaching any plumbing connections, drain the water heater by attaching a hose to the drain valve and directing the water into a suitable container. This will prevent any accidental water spills or flooding.
- Use proper tools and equipment: Ensure that you have the necessary tools and equipment for the installation, including a pipe wrench or adjustable wrench, safety goggles, and gloves. Using the correct tools and protective gear will help prevent injuries.
- Follow manufacturer’s instructions: Always refer to the manufacturer’s instructions and guidelines for the specific model of the water heater expansion tank you are installing. This will ensure that you follow the recommended procedures and safety precautions.
By adhering to these safety precautions, you can minimize the risk of accidents, injuries, and damages during the installation process. Prioritizing safety will not only protect you but also help to preserve the longevity and efficiency of your water heater expansion tank.
Expert Tip:
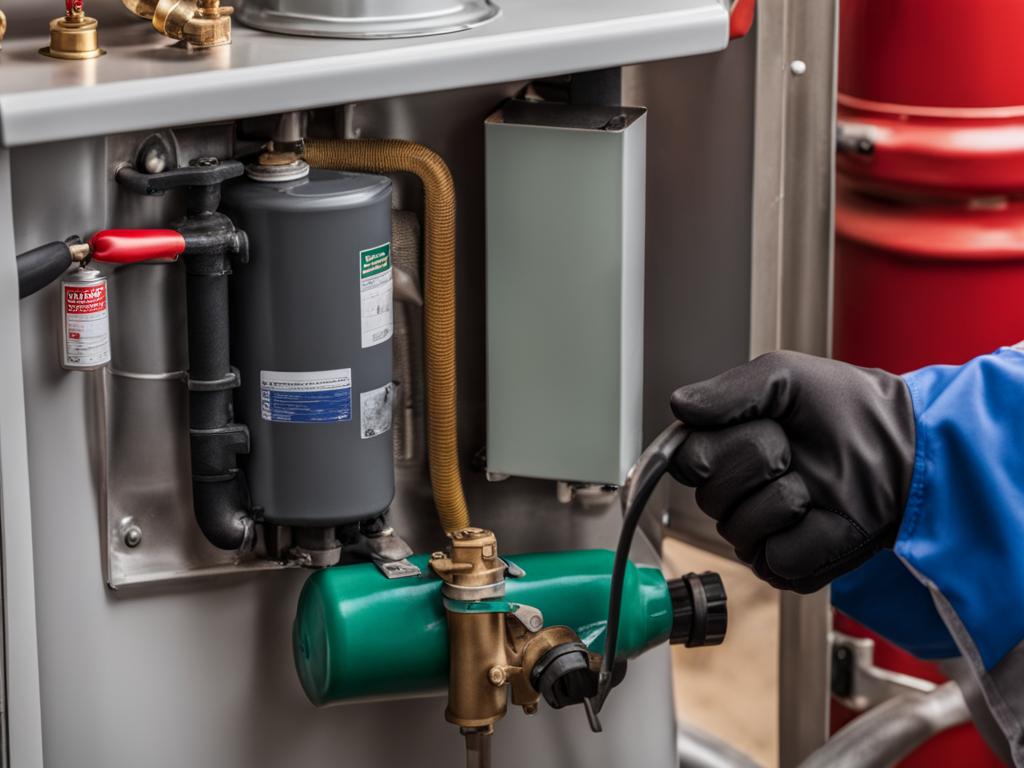
Always double-check for gas and water leaks before and after the installation. Using a leak detection solution or soapy water, apply it to all the plumbing connections and observe if there are any bubbles or signs of leaks. If you detect a leak, immediately turn off the gas or water supply and consult a professional plumber for assistance.
Maintaining the Water Heater Expansion Tank
Proper maintenance of your water heater expansion tank is crucial for ensuring its optimal operation and extending its lifespan. Regular inspections and upkeep will help prevent potential issues and maintain the efficiency of your plumbing system. Here are some essential maintenance tasks to perform:
Checking the Expansion Tank’s Bladder Pressure
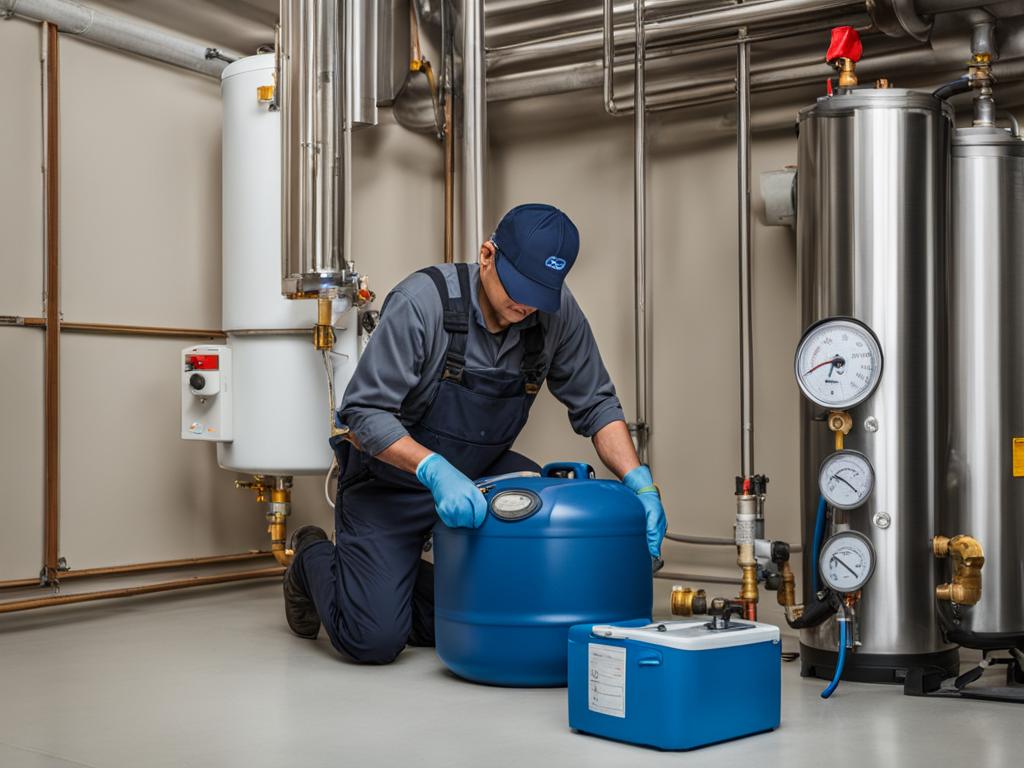
One of the primary maintenance tasks for your water heater expansion tank is checking the bladder pressure. The bladder inside the tank separates the air and water, allowing for proper expansion and contraction. Over time, the bladder can lose pressure or become damaged, affecting the tank’s performance.
- Turn off the power supply to the water heater.
- Close the cold water supply valve.
- Attach a pressure gauge to the valve stem on top of the expansion tank.
- Open the valve stem to release any excess pressure and ensure the gauge reads zero.
- Add air to the expansion tank using a bicycle pump or an air compressor until the desired pressure is reached (typically around 12 psi).
- Close the valve stem and remove the pressure gauge.
Regular Inspection and Replacement
In addition to checking the bladder pressure, it’s crucial to inspect the expansion tank for any signs of wear or damage. Look for leaks, corrosion, or bulging in the tank, as these are indications that it may need to be replaced. If you notice any issues, consult the manufacturer’s instructions or seek professional assistance to ensure proper replacement.
Remember, regular maintenance and monitoring of the expansion tank will help you avoid potential plumbing problems and ensure the longevity of your water heater.
Tips and Best Practices for Water Heater Expansion Tank Installation
Proper installation of a water heater expansion tank is essential for its optimal performance and longevity. Here are some helpful tips and best practices to ensure a successful installation:
1. Use Brass Fittings and Nipples
When connecting the expansion tank to the plumbing system, it’s recommended to use brass fittings and nipples instead of plastic or galvanized options. Brass provides better support and durability, reducing the risk of leaks or damage over time.
2. Provide Pipe Support with a Clevis Hanger
To prevent strain on the pipes and ensure stability, consider using a clevis hanger to support the expansion tank’s pipe. This will help minimize movement and vibration, promoting a longer lifespan for both the tank and the pipes.
3. Install an Extra Valve for Easy Replacement
Adding an additional valve before the expansion tank can make future replacements much easier. This way, if the tank needs to be replaced, you can shut off the water supply at the extra valve without disrupting the entire plumbing system.
4. Connect the Top Outlet of the Tee-Fitting
When installing the expansion tank, connect the top outlet of the tee-fitting to the cold water supply pipe using appropriate pipes and fittings. This ensures proper flow and allows the expansion tank to effectively absorb excess pressure.
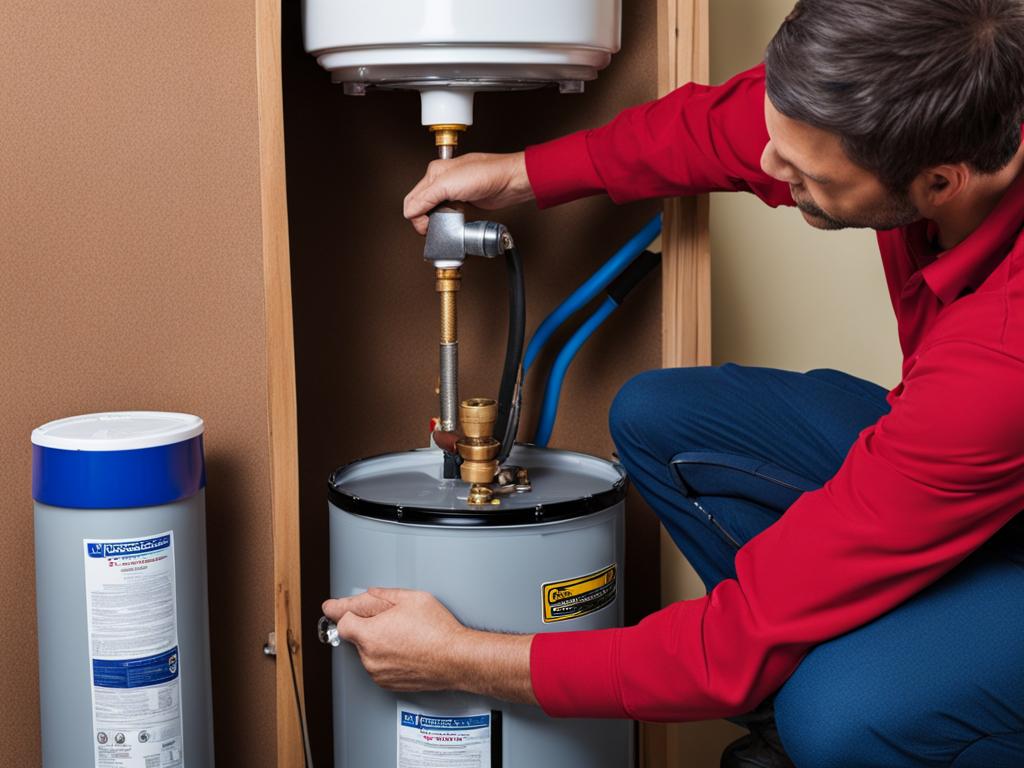
Follow these tips and best practices to ensure a successful water heater expansion tank installation. By paying attention to details and using quality materials, you can protect your plumbing system and enjoy a reliable supply of hot water for years to come.
Conclusion
In conclusion, installing a water heater expansion tank is a crucial step in safeguarding your plumbing system and extending the lifespan of your water heater. By following the correct installation process outlined in this guide, you can ensure that the expansion tank functions effectively and efficiently.
Regular maintenance is key to keeping the expansion tank in optimal condition. It is important to check the bladder pressure regularly and replace the tank if needed. Additionally, monitoring the tank’s psi pressure and consulting the owner’s manual for specific maintenance guidelines will help maintain its performance.
Remember to prioritize safety throughout the installation process by following precautions such as turning off power and gas, shutting off the water supply, and using appropriate tools and equipment. Checking for gas and water leaks before and after the installation is also essential for the overall safety of your plumbing system.
In summary, by investing the time and effort in installing and maintaining a water heater expansion tank, you can ensure the longevity of your water heater and avoid potential damage to your plumbing system. Follow the steps outlined in this guide, stay vigilant with regular maintenance, and enjoy the peace of mind that comes with a properly functioning expansion tank.
FAQ
What is a water heater expansion tank?
A water heater expansion tank is a safety device that protects plumbing systems from excess pressure. It helps alleviate excess pressure in a closed plumbing system by absorbing expanded water, reducing strain on the system and prolonging the life of the water heater.
Where should the expansion tank be installed?
The expansion tank should be installed on the cold water supply line, preferably near the water heater. Choose a location that allows easy access and sufficient clearance for future maintenance.
What tools and materials are needed for installation?
The tools and materials needed for installation include a pipe wrench or adjustable wrench, Teflon tape or pipe joint compound, pipe cutter or hacksaw, fittings and connectors, safety goggles and gloves, towels or rags, and a bucket or container for catching water.
How do I shut off the water supply and drain the system?
Before starting the installation, turn off the main water supply to the house and open a hot water faucet to relieve pressure. Attach a hose to the water heater’s drain valve and drain the tank into a suitable container or drain.
What are the steps to install a water heater expansion tank?
The installation process involves attaching a dielectric union, connecting the copper adapter and T fitting, and securing the expansion tank to the system. Use Teflon tape or pipe joint compound on the threads and ensure secure connections. Check for leaks and test the system after installation.
What safety precautions should I follow during installation?
Follow safety precautions such as turning off power and gas, shutting off the water supply, draining the water heater, using proper tools and equipment, and following the manufacturer’s instructions. Check for gas and water leaks before and after installation.
How do I maintain the water heater expansion tank?
Regular maintenance is important to ensure optimal operation. Check the bladder pressure, replace the tank if necessary, and monitor the tank’s psi pressure. Consult the owner’s manual for specific maintenance guidelines.
Any tips or best practices for water heater expansion tank installation?
Use brass fittings and nipples for better support, provide pipe support with a clevis hanger, consider installing an extra valve before the expansion tank for easy replacement, and connect the top outlet of the tee-fitting to the cold water supply pipe using the appropriate pipes and fittings.

