Effortless Guide: How to Remove Gutters from Your Home
Removing gutters is a task that can be done by homeowners who want to save money on gutter replacement costs. However, it is important to have a step-by-step plan and the necessary tools for a successful gutter removal. Improper removal can result in damage to the fascia or roof of your home. This guide will provide you with the information and instructions you need to remove gutters from your home safely and efficiently.
Key Takeaways:
- Removing gutters can be a cost-effective DIY project for homeowners.
- Proper preparation and the right tools are essential for a successful gutter removal.
- Take your time to remove screws, nails, and rivets carefully to avoid damaging your gutters.
- Disconnect the downspout and remove the gutter mounting hardware before removing the gutters.
- Fill any holes left behind with caulk or putty and consider repainting the gutters for a better appearance.
Preparing to Remove Gutters
Before you begin the gutter removal process, it is essential to make the necessary preparations. Proper preparation will ensure a smoother and more efficient gutter removal experience.
Gutter Removal Plan
- Create a sketch: Make a sketch of your gutters, identifying the location of all downspouts. This will help you create a step-by-step plan for the removal.
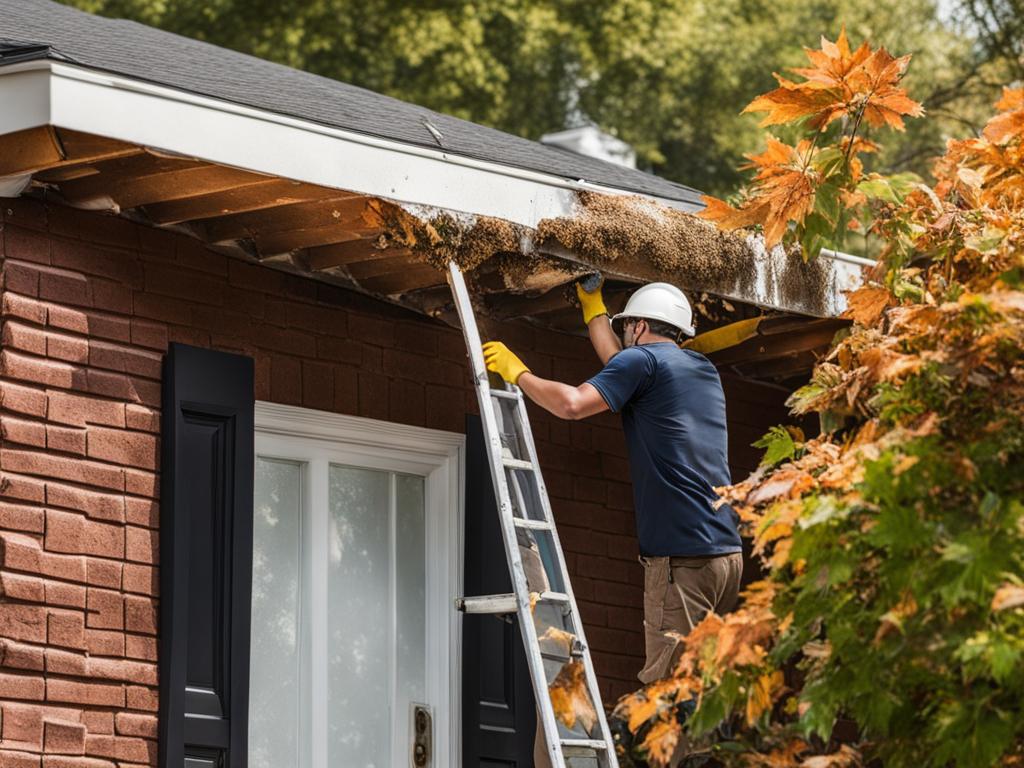
- Have a second person present: It is crucial to have a second person present to steady the ladder and prevent accidents. Safety should always be the top priority.
- Use a cordless drill: To avoid tangling wires around the ladder’s legs, have a cordless drill available for any necessary screws or bolts.
- Plan for a two-person approach: For larger gutter pieces, it is advisable to have a two-person approach to gently lower them instead of allowing them to fall.
By following these preparations, you can ensure that your gutter removal process goes smoothly and minimizes the risk of damage to your home or yourself.
Proper preparation is key when it comes to removing gutters. By creating a plan, having assistance, using the right tools, and adopting a cautious approach, you can save time and effort while minimizing potential risks.
Removing Screws, Nails, and Rivets
Once you have made the necessary preparations, the next step in the gutter removal process is to remove any screws, nails, or rivets that are securing the gutters. This step requires a close examination of your gutter system and the use of the appropriate tools. Ensuring a thorough removal of these fasteners will facilitate the smooth and safe removal of the gutters.
Removing Screws
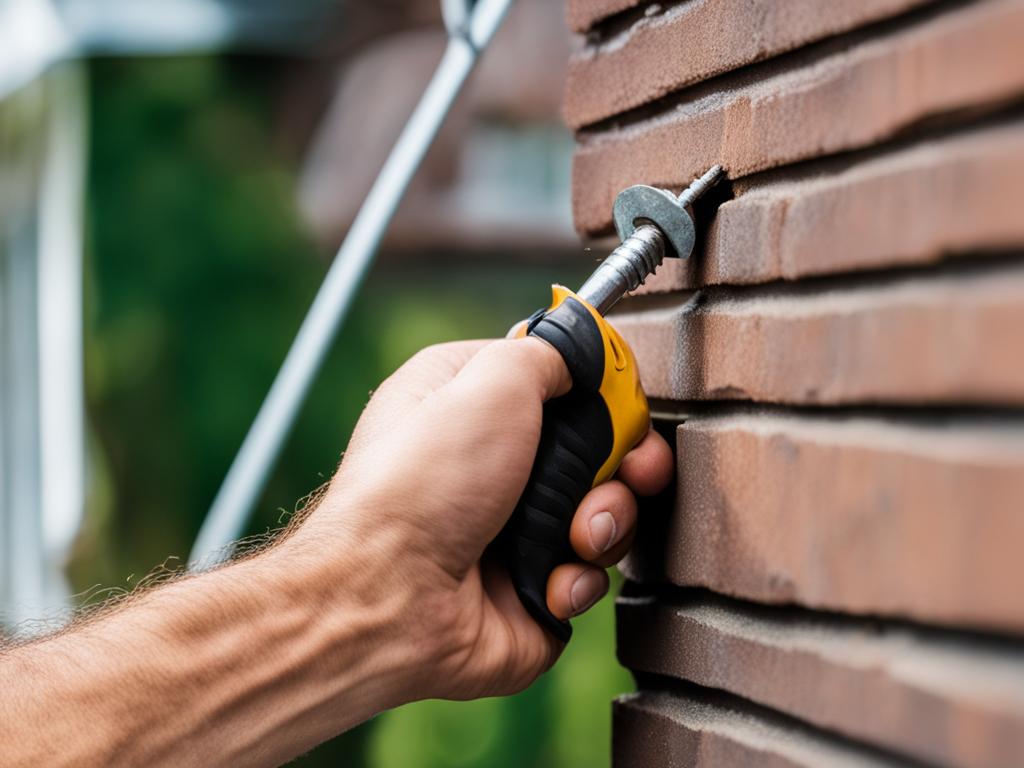
If your gutter system contains screws, you will need a screwdriver to drive them out. Start by identifying the location of the screws and carefully remove them one by one. By loosening and removing the screws, you will be able to detach the gutters from their mounting points and begin the removal process.
Removing Nails
In some cases, nails may be used to secure gutters. To remove nails from your gutters, you will need a hammer or pry bar. Inspect each section of the gutter carefully, using the appropriate tool to pry out the nails. Take your time and be cautious to avoid damaging the fascia or the roof of your home.
Removing Rivets
If your gutter system utilizes rivets, you will need a drill to remove them. Carefully move your ladder inch by inch as you inspect each section of the gutter, ensuring that all rivets are removed. Take your time during this step, as rivets can be securely fastened and require a bit of effort to remove.
By taking the time to properly remove screws, nails, and rivets, you will ensure the integrity of your gutter removal process and minimize the risk of damage to your home. Remember to use the appropriate tools and exercise caution throughout the process.

Disconnecting the Downspout
When removing gutters from your home, it is crucial to disconnect the downspout before proceeding. This step ensures that the weight of the downspout does not strain or damage the gutters once they are detached. To disconnect the downspout, start by loosening the downspout wall straps. These straps secure the downspout to the wall, and by loosening them, you make it easier to pull the downspout away from your home.
Take your time during this process to ensure that you do not damage the downspout or the surrounding area. Gently pull the downspout away from the wall, being cautious not to bend or break it. If necessary, use a putty knife to gently pry the downspout away from any caulking or adhesives that may be securing it. This will help prevent any unnecessary damage during the removal.
Why is Disconnecting the Downspout Important?
Disconnecting the downspout before removing the gutters is essential because it allows for a smoother and safer gutter removal process. Leaving the downspout attached while removing the gutters can put unnecessary stress on the gutter system, resulting in potential damage to the fascia or roof of your home. By taking the time to disconnect the downspout properly, you can minimize the risk of accidents or unwanted repairs.
What to Do with the Disconnected Downspout
Once the downspout is successfully disconnected, carefully set it aside in a safe location. It is essential to keep the downspout in good condition, as you will need to reattach it after the new gutters are installed. Take care not to bend or dent the downspout during storage, as this could affect its functionality and appearance. If needed, you can clean the downspout while it is disconnected to remove any debris or blockages before reinstalling it.
Removing the Gutter Mounting Hardware
Now that you have removed any screws, nails, or rivets from your gutters, it’s time to take the next step in the gutter removal process: removing the gutter mounting hardware. This hardware is what holds the gutters against the roof, and it needs to be carefully disconnected to ensure a successful removal.
The type of mounting hardware used for gutters can vary, but the most common choice is bracket-style hardware. You will need a screwdriver or hammer to disconnect the mounting hardware from the gutters. It’s important to have a partner hold each piece steady while you work on removing the hardware, as this will help prevent any accidental damage to the roof or fascia. Once the hardware is loosened, your partner can also assist in lowering the gutters to the ground.
When removing the gutter mounting hardware, it’s crucial to take your time and exercise caution. Rushing this step or using excessive force can result in unnecessary damage to your home. By following the proper techniques and utilizing the right tools, you can safely remove the gutter mounting hardware and move on to the next stage of the gutter removal process.
| Step | Procedure |
|---|---|
| 1 | Use a screwdriver or hammer to disconnect the gutter mounting brackets. |
| 2 | Have a partner hold each gutter piece steady while you remove the mounting hardware. |
| 3 | Take your time and exercise caution to avoid damaging the roof or fascia. |
| 4 | Lower the gutters to the ground with the assistance of your partner. |
By following these steps and taking the necessary precautions, you can successfully remove the gutter mounting hardware and proceed with the gutter removal process.
Filling Holes and Repainting
After removing the gutter mounting hardware, it is common to find holes in the places where the hardware was attached. It is crucial to address these holes promptly to prevent water from entering your home and causing potential damage. The following steps outline how to effectively fill holes in your gutters and repaint them for a finished look.
Step 1: Inspect and Clean
Before filling the holes, thoroughly inspect your gutters for any debris or loose materials. Use a brush or a hose to clean out any dirt or debris that may be obstructing the holes. It is essential to have a clean surface for proper hole repair.
Step 2: Filling the Holes
If the holes are in a vinyl surface, such as PVC gutters, use a caulk gun to fill them with caulk. Choose a caulk that is specifically designed for outdoor use and can adhere to vinyl surfaces. Apply the caulk in a smooth and even manner to ensure a proper seal. Allow the caulk to dry completely before proceeding to the next step.
If the holes are in a wood surface, such as wooden gutters, use a putty knife to fill them with wood putty. Select a putty that matches the color of your gutters for a seamless finish. Apply the putty to the holes, using the putty knife to smooth it out and create an even surface. Allow the wood putty to dry completely before moving on to the next step.
Step 3: Repainting
Once the filled holes have dried, you can consider repainting your gutters for a fresh and updated look. Choose a paint color that matches or complements your home’s exterior. Clean your gutters thoroughly before applying the paint to ensure proper adhesion. Use a high-quality exterior paint and a paintbrush or roller to evenly coat the gutters. Allow the paint to dry completely according to the manufacturer’s instructions before reattaching your gutters to the house.

By following these steps, you can effectively fill the holes in your gutters and give them a refreshed appearance. Regular maintenance and prompt repairs will help prolong the lifespan of your gutters and protect your home from water damage.
DIY Gutter Removal vs. Hiring a Pro
When it comes to removing gutters from your home, you may be wondering whether to tackle the task yourself or hire a professional. Both options have their pros and cons, so it’s important to consider your own capabilities and budget before making a decision.
DIY Gutter Removal
One of the main benefits of DIY gutter removal is cost savings. By doing it yourself, you can avoid the expense of hiring a professional. Additionally, if you enjoy taking on home improvement projects and have the necessary tools and skills, DIY gutter removal can be a rewarding experience.
However, it’s important to note that DIY gutter removal does come with some risks. Working at heights can be dangerous, and improper removal techniques can result in damage to your home’s roof or fascia. It’s crucial to follow safety protocols and have a clear plan in place before starting the removal process.
Hiring a Professional
Hiring a professional for gutter removal has its own set of advantages. Firstly, professionals have the knowledge and experience to ensure the removal is done safely and efficiently. They have the necessary tools and equipment to handle the job without causing any damage to your home.
Additionally, hiring a professional can save you time and effort. Gutter removal can be a time-consuming task, especially if you’re unfamiliar with the process. By hiring a pro, you can focus on other priorities while knowing that the job is being done correctly.
However, it’s important to consider the cost of hiring a professional. Depending on the size of your home and the complexity of the removal, the cost can vary. It’s recommended to get multiple quotes from reputable contractors to ensure you’re getting a fair price.
Comparing DIY Gutter Removal and Hiring a Pro
DIY Gutter Removal
- Pros: Cost savings, sense of accomplishment, flexibility
- Cons: Safety risks, potential for damage, time-consuming
Hiring a Professional
- Pros: Expertise, safety assurance, time-saving
- Cons: Cost, reliance on others, less hands-on experience

Replacing Gutters: Factors to Consider
When it comes to replacing gutters, it’s important to take several factors into consideration. The condition of your current gutters, the material you choose for replacement, and the overall aesthetic appeal are all important factors to keep in mind. In this section, we will explore these factors in more detail to help you make an informed decision.
Gutter Condition
The first step in gutter replacement is assessing the condition of your current gutters. Look out for signs of wear and tear such as flaking paint, noticeable leaks, rust or discoloration, sags or detachment from hangers, and regular clogs from debris. If your gutters are exhibiting multiple issues and repairs are becoming frequent, it may be time for a replacement.

Gutter Material
Choosing the right material for your new gutters is crucial for long-term durability. Some popular options include aluminum, vinyl, steel, and copper. Each material has its own pros and cons in terms of cost, maintenance, and lifespan. Consider factors such as your climate, aesthetic preferences, and budget before deciding on the material for your replacement gutters.
Aesthetic Appeal
While functionality is the primary purpose of gutters, their appearance should not be overlooked. Your gutters should complement the architectural style of your home and enhance its overall curb appeal. Seamless gutters are a popular option as they provide a sleek and seamless look, minimizing the risk of leaks and enhancing the visual appeal of your roofline.
| Gutter Replacement Factors | Considerations |
|---|---|
| Gutter Condition | Assess signs of wear and tear, frequent repairs |
| Gutter Material | Choose based on climate, maintenance, and budget |
| Aesthetic Appeal | Consider architectural style and overall curb appeal |
In conclusion, when replacing your gutters, it’s important to carefully evaluate the condition of your current gutters, choose the right material, and consider the aesthetic appeal. By taking these factors into account, you can ensure that your new gutters not only serve their functional purpose but also enhance the overall appearance of your home.
Conclusion
In conclusion, gutter removal can be a DIY project for homeowners who have the necessary tools and are comfortable working at heights. However, it is crucial to approach the removal process with a well-thought-out plan and consider the potential risks and damage that can occur. Hiring a professional for gutter removal may be a safer and more cost-effective option, especially if they can also address other roofing repairs or replacements that may be needed.
Before deciding to replace your gutters, it is important to assess their condition. Look out for signs such as flaking paint, noticeable leaks, rust or discoloration, sags or detachment from hangers, and regular clogs from debris. Consulting with a professional will help you determine the best gutter replacement options for your home.
Ultimately, whether you choose to remove your gutters yourself or hire a professional, the goal is to ensure the safety and integrity of your home. With the right approach and careful consideration, you can successfully remove your gutters and make informed decisions regarding gutter replacement.
FAQ
Can I remove gutters myself?
Yes, homeowners can remove gutters themselves if they have the necessary tools and are comfortable working at heights. However, it is important to take precautions and have a well-planned approach.
What tools do I need to remove gutters?
To remove gutters, you will need a ladder, hammer or pry bar, screwdriver, drill, cordless drill, caulk gun, putty knife, and possibly a partner to assist you.
How do I fill the holes in the gutters after removing the mounting hardware?
If the holes are in a vinyl surface, use a caulk gun to fill them with caulk and smooth over the surface. If the holes are in a wood surface, use a putty knife to fill them with wood putty.
Should I hire a professional for gutter removal?
Hiring a professional for gutter removal may be safer and more cost-effective, especially if they will also be handling other roofing repairs or replacements. Professionals have the knowledge and experience to avoid causing leaks and roof damage during the removal process.
How do I know if I need to replace my gutters?
Signs that you may need new gutters include flaking paint, noticeable leaks, rust or discoloration, sags or detachment from hangers, and regular clogs from debris. It is recommended to consult with a professional to determine the best gutter replacement options for your home.

