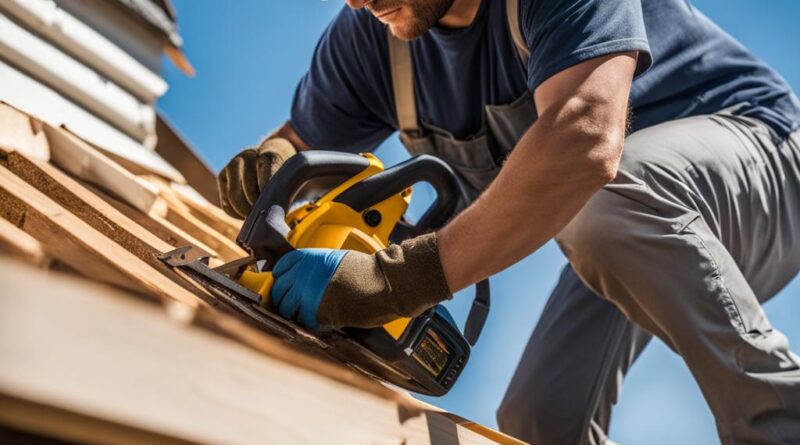
Your Simple Guide on How to Replace Fascia Board
Fascia boards are an essential part of your home’s exterior and may need to be replaced over time due to wear and damage. In this guide, we will provide you with step-by-step instructions on how to replace fascia board, including the tools you’ll need and the process you should follow. By following these simple steps, you can maintain the health and appearance of your roof and ensure the longevity of your home’s exterior.
Key Takeaways:
- Replacing fascia boards is a DIY project that can save you money on labor costs.
- Gather all the necessary tools before starting the replacement process.
- Take precautions and preparations to ensure safety during the project.
- Remove gutters and drip edge before removing the existing fascia board.
- Strip old caulking and carefully remove the old fascia board.
Tools Needed for Replacing Fascia Board
Before you start replacing the fascia board, it is important to gather all the necessary tools. Having the right tools on hand will ensure that you can complete the project efficiently and effectively. Here are the essential tools you’ll need:
“Having the right tools is crucial for a successful fascia board replacement project.”
- Cordless drill
- Utility knife
- Oscillating tool (optional)
- Hammer
- Tape measure
- Circular saw
- Clamps
- Sawhorses
- Speed square
- Mitering saw
- Nail gun
- Caulk gun
- Paint brush and roller
- Extension ladder
- Safety glasses
- Mask
Having these tools at your disposal will make the process of replacing the fascia board much smoother. They will enable you to cut, remove, and install new boards with ease, ensuring a professional-looking result.
Preparing to Replace Fascia Board
Before you begin the actual replacement process, it is important to take certain precautions and preparations to ensure a smooth and successful project. Follow these steps to prepare for fascia board replacement:
- Review ladder safety tips: Before working at heights, make sure you are familiar with ladder safety guidelines. Ensure the ladder is stable and secure before climbing.
- Work with a partner: Replacing fascia boards can be a two-person job. Having a partner to assist you can make the process easier and safer.
- Protective gear: Wear safety glasses, gloves, and a face mask to protect yourself while using power tools and handling materials.
- Research fascia materials: Take the time to research and choose the right type of fascia material for your home. Consider factors such as durability, maintenance requirements, and aesthetic appeal.
By taking these steps to prepare for fascia board replacement, you can ensure a safer and more efficient project. Now that you are ready to proceed, let’s move on to the next section to learn about removing gutters and drip edge.
Removing Gutters and Drip Edge
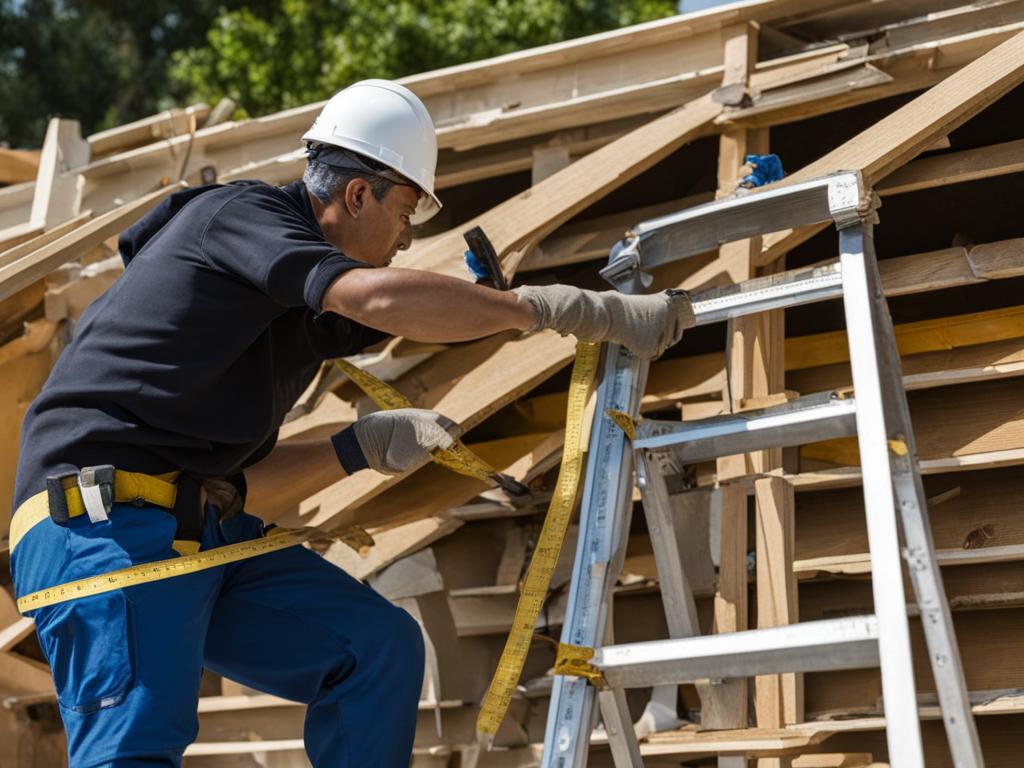
Before you can proceed with replacing the fascia board, it is essential to remove any gutters and drip edge attached to it. This step ensures a smooth and efficient removal process without causing any damage to the surrounding components. Here is a step-by-step guide on how to remove gutters and drip edge for fascia board replacement:
- Start by unscrewing the gutter brackets from the fascia board using a cordless drill or a screwdriver. Keep the screws and brackets in a safe place as you will need them for reinstallation later.
- Next, carefully detach the gutter sections by removing the screws or nails that hold them in place. This may require you to use a pry bar or a hammer to loosen the fasteners.
- Once the gutters are removed, focus on removing the drip edge sections. Use a pry bar or a hammer to gently pry them off the fascia board.
- Be sure to save all the removed gutters, brackets, and drip edge sections as they can be reused or replaced if necessary.
By following these steps, you can effectively remove the gutters and drip edge, preparing the fascia board for replacement.
Table: Tools and Materials Needed for Removing Gutters and Drip Edge
| Tools | Materials |
|---|---|
| Cordless drill or screwdriver | Replacement gutters (optional) |
| Pry bar | Replacement brackets (optional) |
| Hammer |
Ensure that you have the necessary tools and materials ready before starting the gutter and drip edge removal process. This will help you complete the task efficiently and without any interruptions.
Removing Existing Fascia Board
To begin the process of replacing your fascia board, you will need to remove the existing fascia board. This step is essential in ensuring a clean and proper installation of the new fascia board. Here are the steps to remove the old fascia board:
- Step 1: Strip the old caulking: Use a utility knife to strip the old caulking between the fascia boards and at the corners. This will help separate each board so that they can be easily removed.
- Step 2: Loosen the attachment: Use a pry bar to loosen the attachment of the fascia boards. Focus on nail locations and carefully pry the boards away from the roof rafters. Take your time and ensure that each board is completely detached.
- Step 3: Cut the fascia boards (optional): If necessary, you can consider cutting the fascia boards into smaller pieces using an oscillating tool. This can make the removal process easier, especially if the boards are large or difficult to handle.
By following these steps, you will be able to remove the existing fascia board and prepare for the installation of the new fascia board. It is important to take your time and exercise caution when removing the old fascia board to avoid any damage to the roof or surrounding structures.
“Removing the existing fascia board is a crucial step in the process of replacing it. Take your time and make sure to properly detach the boards to ensure a clean installation of the new fascia.”
Table 5: Comparison of Fascia Board Removal Methods
| Method | Pros | Cons |
|---|---|---|
| Utility Knife and Pry Bar |
|
|
| Oscillating Tool |
|
|
Table 5 provides a comparison of two common methods for removing the existing fascia board. The utility knife and pry bar method is simple and requires minimal tools, but it may take longer to remove larger boards. On the other hand, using an oscillating tool can make the removal process easier for larger boards, but it requires an additional tool and may create more dust and debris.
Preparing Sub-Fascia and Rafters
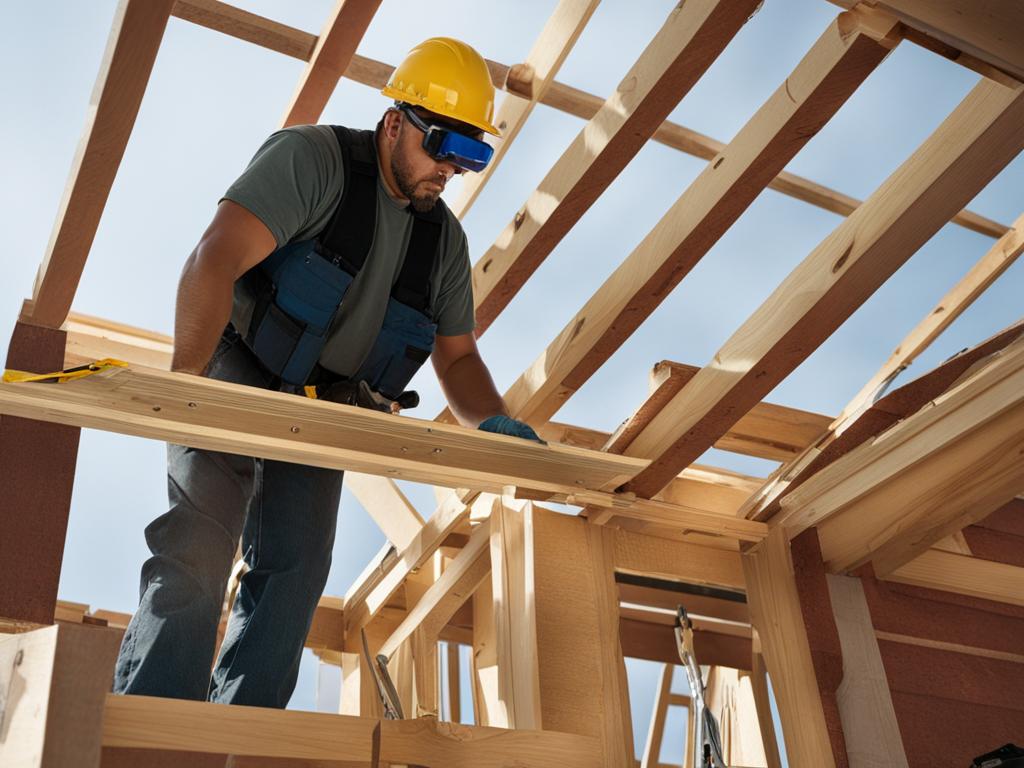
After removing the old fascia board, the next step in replacing fascia board is to prepare the sub-fascia and roof rafters. Take a close look at these components to assess their condition. Look for any signs of rot, water damage, or structural issues. If you notice any wood that is decayed or weakened, it’s crucial to replace it before continuing with the installation of the new fascia board. This step is essential for ensuring the stability and longevity of your fascia board replacement.
To prepare the sub-fascia and rafters, start by removing any remaining nails or screws that may be sticking out. Use a hammer or pry bar to gently pull them out and discard them properly. Once all the nails are removed, examine the wood to make sure it’s clean and free from debris. Sand the sub-fascia and rafters to create a smooth surface for attaching the new fascia board. This will help ensure a secure and seamless installation.
Before attaching the new fascia board, it’s important to measure and cut it to the appropriate length. Take accurate measurements of the distance between the rafters and mark the new board accordingly. Use a circular saw to cut the board to the correct length, ensuring a precise fit. Make sure to double-check your measurements before making any cuts to avoid any mistakes. Once the new fascia board is cut, it’s ready to be installed.
| Steps to Prepare Sub-Fascia and Rafters |
|---|
| 1. Assess the condition of the sub-fascia and rafters, replacing any damaged or rotten wood. |
| 2. Remove any remaining nails or screws from the sub-fascia and rafters. |
| 3. Sand the sub-fascia and rafters to create a smooth surface for the new fascia board. |
| 4. Measure the distance between the rafters and cut the new fascia board accordingly. |
| 5. Double-check your measurements before making any cuts to ensure accuracy. |
| 6. Once the new fascia board is cut, it’s ready to be installed. |
Measuring and Cutting New Fascia Boards
When replacing fascia boards, it is essential to measure and cut the new boards properly to ensure a precise fit. Follow these steps to accurately measure and cut your new fascia boards:
- Start by measuring the length of the old fascia boards that you removed. Use a measuring tape to measure from one end to the other, ensuring you get an accurate measurement.
- Transfer the measurements to the new fascia boards. Using a pencil or marker, make marks on the new boards to indicate where you need to cut.
- Double-check your measurements to avoid any mistakes. It’s crucial to be precise, as even a slight deviation can result in ill-fitting boards.
- Once you have marked the measurements, use a circular saw to cut the new fascia boards along the marked lines. Take your time and make smooth, steady cuts to ensure clean edges.
Remember to prioritize safety while cutting the boards. Wear safety glasses and follow proper safety guidelines for operating power tools.
By accurately measuring and cutting your new fascia boards, you will ensure a seamless installation and a professional-looking finish.
Example Table: Cutting Measurements for Fascia Boards
| Fascia Board Number | Length (in inches) |
|---|---|
| Fascia Board 1 | 142 |
| Fascia Board 2 | 151 |
| Fascia Board 3 | 136 |
Table: Cutting Measurements for Fascia Boards. This table provides the length measurements for each fascia board, ensuring accurate cutting for replacement.
“Accurate measurements and proper cutting are essential when replacing fascia boards. Taking the time to measure accurately and make clean cuts will ensure a seamless installation and a professional finish.”
Installing New Fascia Boards
Now that you have prepared the sub-fascia and cut the new fascia boards, it’s time to install them onto your roof rafters. Follow these steps to ensure a secure and professional installation:
- Begin by test-fitting the new fascia boards to ensure proper alignment and fit. Hold the boards in place against the sub-fascia and rafters to confirm that they align flush and level with the roof edge.
- Once you are satisfied with the fit, use a nail gun to secure the boards to the roof rafters. Place two nails on top of each other every few feet along the length of the fascia board, ensuring the nails penetrate both the fascia and the rafter.
- Continue this process for each fascia board, working your way along the roof edge. Take care to ensure that each board is level before nailing it in place, as this will help maintain the structural integrity and aesthetic appeal of your fascia.
- As you progress, it is recommended to work with a partner who can assist in holding the boards in place while you secure them. This will help ensure accuracy and safety during the installation process.
By following these steps, you can successfully install new fascia boards and enhance the overall look and functionality of your home’s exterior.
| Materials Needed | Tools Needed |
|---|---|
|
|
Remember to take necessary safety precautions while working at heights and handling tools. If you are not comfortable with these tasks, it is advisable to hire a professional contractor to ensure the job is done safely and correctly.
Caulking and Painting the Fascia
Once the new fascia boards are installed, the next crucial step is to caulk and paint them. This not only helps to create a seamless look but also provides protection against moisture and weather elements. Follow these step-by-step instructions to ensure a professional finish:
Caulking the Fascia
- Start by applying a bead of caulk along the seams between the new fascia boards, using a caulk gun.
- Smooth out the caulk with a caulk smoothing tool or your finger to create a clean finish.
- Continue caulking all the gaps and joints between the fascia boards, ensuring that there are no visible openings.
- Allow the caulk to dry completely according to the manufacturer’s instructions before proceeding to the next step.
Painting the Fascia
- Before painting, make sure the caulk is dry and the fascia boards are free from dust or debris.
- Apply a coat of primer to the entire surface of the fascia boards, using a paintbrush or roller. This helps to seal the wood and create a smooth base for the paint.
- Once the primer is dry, apply two coats of exterior-grade paint in your chosen color. Use a paintbrush for detailed areas and a roller for larger surfaces.
- Allow each coat of paint to dry completely before applying the next one. Follow the manufacturer’s instructions for drying times.
By caulking and painting the fascia boards, you not only improve their appearance but also prolong their lifespan by protecting them from the elements. Remember to choose high-quality caulk and paint that are specifically designed for exterior use. Following these steps will ensure a professional and long-lasting finish for your new fascia boards.
Re-installing Gutters and Drip Edge
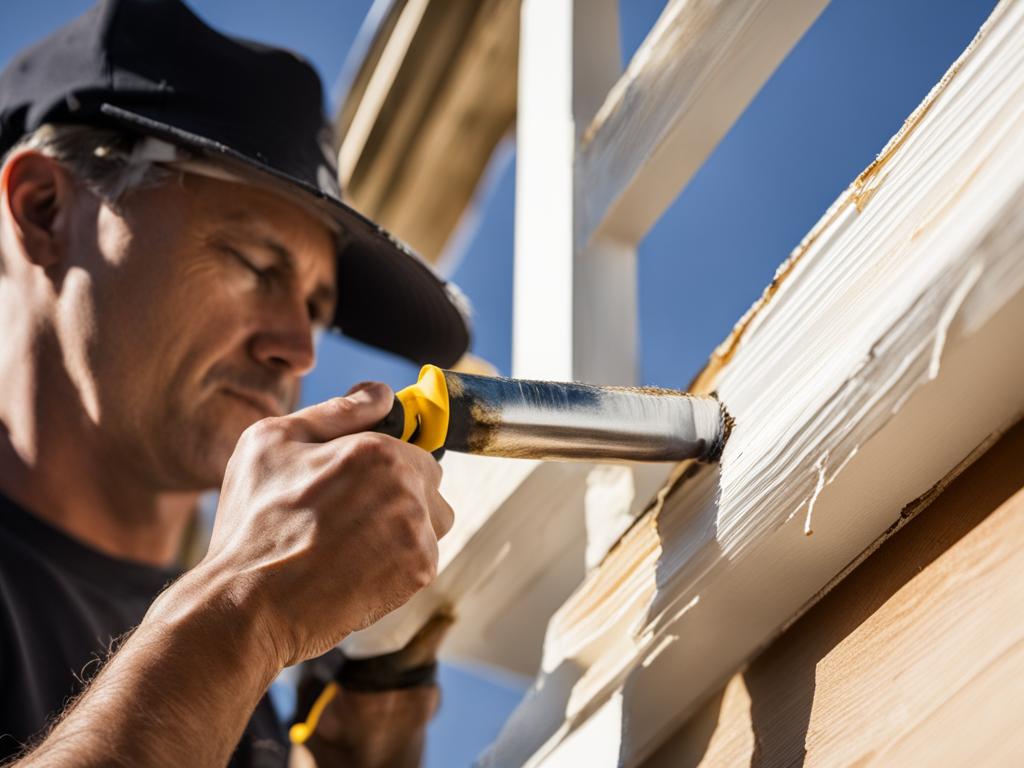
After successfully replacing the fascia boards, it’s now time to re-install the gutters and drip edge to ensure proper drainage and protection for your roof. Follow these steps to complete the process:
1. Gather the necessary tools and materials:
- Gutters
- Gutter brackets
- Drip edge sections
- Screws or nails
- Drill or hammer
- Level
Having all the tools and materials ready will make the re-installation process smoother and more efficient.
2. Measure and cut the gutters:
Measure the length of the fascia where the gutters will be installed. Using a saw, cut the gutters to the appropriate size. Make sure the gutters have a slight slope towards the downspout to allow for proper drainage.
3. Install the gutter brackets:
Attach the gutter brackets to the fascia at regular intervals, ensuring they are level. Use a drill or hammer to secure them in place.
4. Attach the gutters:
Place the gutters onto the brackets and secure them using screws or nails. Make sure the gutters are level and properly aligned. Use a level to double-check their position.
5. Install the drip edge:
Attach the drip edge sections to the roof’s edge, overlapping them to create a seamless transition. Make sure they extend slightly beyond the fascia to direct water away from the roof and into the gutters.
By carefully following these steps, you can successfully re-install your gutters and drip edge, ensuring that your roof remains protected from water damage and maintaining the overall integrity of your home’s exterior.
Conclusion
In conclusion, replacing fascia boards is a manageable DIY project that can greatly benefit your home’s exterior. By following the step-by-step guide provided in this article, you can successfully replace your fascia boards and ensure the health and longevity of your roof. Whether you’re dealing with wear and damage or simply looking to refresh the appearance of your home, replacing fascia boards is a worthwhile endeavor.
However, it’s important to prioritize safety and be aware of your comfort level when working at heights and handling power tools. If you feel unsure or uncomfortable, it is recommended to hire a professional contractor who can safely and efficiently complete the job for you. This will not only give you peace of mind but also ensure that the fascia board replacement is done correctly.
Remember, the proper tools, preparation, and installation techniques are key to a successful fascia board replacement. Take the time to gather all the necessary tools, prepare the sub-fascia and rafters, and measure and cut the new fascia boards accurately. Additionally, don’t forget to caulk and paint the fascia boards for added protection and an enhanced aesthetic appeal.
In summary, replacing fascia boards is a practical and rewarding home improvement project. By following the steps outlined in this guide and considering safety precautions, you can achieve a professional-looking result that will enhance the overall appearance and value of your home.
FAQ
What tools do I need to replace a fascia board?
To replace a fascia board, you will need a cordless drill, utility knife, oscillating tool (optional), hammer, tape measure, circular saw, clamps, sawhorses, speed square, mitering saw, nail gun, caulk gun, paint brush and roller, extension ladder, safety glasses, and a mask.
What precautions should I take before replacing a fascia board?
Before replacing a fascia board, it is important to review ladder safety tips, work with a partner, and wear safety glasses, gloves, and a face mask while using power tools. Additionally, research different types of fascia materials and choose the one that suits your preferences and offers durability.
How do I remove gutters and drip edge before replacing a fascia board?
To remove gutters and drip edge, unscrew the gutters, gutter brackets, and drip edge sections and carefully take them down with the help of a partner. Remember to save all the pieces for re-installation later. If the gutter system is in poor condition, consider installing new gutters.
How do I remove the existing fascia board?
To remove the existing fascia board, strip the old caulking between the boards and at the corners using a utility knife. This will help separate each board for easy removal. Use a pry bar to loosen the attachment of the fascia boards, focusing on nail locations. You can also cut the fascia boards into smaller pieces with an oscillating tool to make removal easier.
How do I prepare the sub-fascia and rafters for new fascia board installation?
After removing the old fascia board, examine the condition of the sub-fascia and roof rafters. Replace any damaged wood. Remove any remaining nails from the rafters and sand the wood to ensure it is clean and ready for new fascia attachment.
How do I measure and cut new fascia boards?
To measure and cut new fascia boards, use a measuring tape to determine the length and mark the boards accordingly. You can use the old boards as a guide. Use a circular saw to cut the boards, ensuring they have the appropriate depth and width that matches the rafters.
How do I install new fascia boards?
Before installing the new fascia boards, test-fit them by holding them in place to ensure proper alignment. Use a nail gun to secure the boards to the roof rafters, placing two nails on top of each other every few feet. Make sure each board is level before nailing it in. Work with a partner during this step.
How do I caulk and paint the fascia?
After installing the new fascia boards, caulk the seams between them for a seamless look. Use a caulk gun to apply a bead of caulk in the gaps and smooth it out. Once the caulk is dry, apply primer and two coats of paint to protect the fascia boards and enhance their appearance.
How do I reinstall gutters and drip edge after replacing the fascia board?
Once the new fascia boards are in place and the paint is dry, re-install your gutter system and roof drip edges. Make sure to install the gutters properly with the correct slopes for effective drainage. Re-installing the gutters will enhance the functionality and overall look of your home’s exterior.
Can I replace a fascia board myself?
Yes, replacing a fascia board is a manageable DIY project that can save you money on labor costs. However, if you are unsure or not comfortable working at heights or handling power tools, it is advisable to hire a professional contractor to ensure the job is done safely and correctly.

