Essential Home Mechanic Tips for DIY Repairs
Save money on car repairs and take control of your vehicle’s maintenance with these essential home mechanic tips. Learning a few basic car repairs can empower you to tackle common tasks and keep your car running smoothly. In this article, we will provide step-by-step instructions for a range of DIY auto repairs, from changing oil to replacing brake pads. So put on your DIY hat and get ready to become a skilled home mechanic!
Key Takeaways:
- Learning basic car repairs can save you money and give you a sense of accomplishment.
- Changing oil, replacing brake pads, and fixing a flat tire are common DIY auto repairs.
- Follow step-by-step instructions and consult your vehicle’s manual for specific guidance.
- Invest in quality tools to ensure efficient and safe repairs.
- Practice safety precautions and gradually build your DIY car repair skills.
Changing Oil
Changing the oil in your car is a fundamental maintenance task that every home mechanic should know. By doing it yourself, you can save money and ensure that your engine is running with clean oil.
To change the oil, you will need a new oil filter, the appropriate amount of oil for your vehicle, and basic tools to remove the oil drain plug. Follow online videos or consult your vehicle’s owner’s manual for step-by-step instructions on how to properly drain the old oil, replace the oil filter, and fill up with new oil.
The Changing Oil Process:
- Position your car on a flat surface and engage the parking brake.
- Locate the oil drain plug underneath your engine. Use a wrench to loosen and remove the plug, allowing the old oil to drain into a pan.
- While the oil is draining, locate the oil filter. Use an oil filter wrench to loosen and remove the filter.
- Apply a thin layer of oil to the rubber gasket of the new oil filter, then install it by hand, tightening it securely.
- Once the old oil has finished draining, reinstall the oil drain plug. Be sure to use a new crush washer if necessary.
- Refill the engine with the recommended amount and type of oil using a funnel.
- Start the engine and let it run for a few minutes to circulate the new oil.
- Check the oil level using the dipstick and add more if necessary.
- Dispose of the old oil and filter at a local recycling center or an auto parts store that accepts used oil.
Changing your car’s oil regularly will help prolong the life of your engine and ensure smooth performance. Refer to your vehicle’s recommended oil change interval and follow a consistent schedule for optimal results.
Changing a Flat Tire
Getting a flat tire can happen at any time, and knowing how to change it is an essential skill for any home mechanic. When faced with a flat tire, you’ll need a few tools to get the job done. Make sure you have a tire jack, a lug wrench, and a spare tire on hand to complete the task efficiently.
To begin changing a flat tire, follow these simple steps:
- Step 1: Find a safe location: Move your vehicle to a safe area away from traffic, if possible. Engage the parking brake and turn on hazard lights to ensure your safety.
- Step 2: Get the necessary tools: Retrieve the tire jack, lug wrench, and spare tire from your vehicle’s trunk or designated storage area. Place them near the flat tire for easy access.
- Step 3: Loosen the lug nuts: Use the lug wrench to loosen the lug nuts on the flat tire. Turn each lug nut counterclockwise, but do not remove them completely at this stage.
- Step 4: Position the tire jack: Find the appropriate lift point for your vehicle as specified in the owner’s manual. Place the tire jack securely underneath the vehicle and begin lifting the car off the ground.
- Step 5: Remove the lug nuts and flat tire: Use the lug wrench to fully remove the loosened lug nuts, pulling them off carefully. Once the lug nuts are off, carefully take off the flat tire.
- Step 6: Install the spare tire: Align the spare tire’s rim with the wheel bolts, and gently slide it onto the hub. Carefully hand-tighten the lug nuts, ensuring they are snug against the spare tire.
- Step 7: Lower the vehicle: Use the tire jack to slowly lower the vehicle until the spare tire touches the ground. Remove the tire jack and fully tighten the lug nuts with the lug wrench, following a star or crisscross pattern for optimal tightness.
- Step 8: Confirm lug nut tightness: Double-check that all lug nuts are securely tightened to the recommended torque specification. This step is crucial for your safety and helps prevent any issues while driving with the spare tire.
- Step 9: Stow the flat tire and tools: Place the flat tire, lug wrench, and tire jack securely in your trunk or designated storage area. Ensure they are properly secured to prevent shifting while driving.

Remember, practicing safety precautions is of utmost importance when changing a flat tire. Be sure to engage the parking brake, use wheel chocks to prevent the vehicle from rolling, and follow all instructions provided by your vehicle’s manufacturer or consult reputable online resources for further guidance. With the right tools, knowledge, and precautions, you’ll be able to confidently change a flat tire and get back on the road in no time.
Changing Spark Plugs
Spark plugs are a crucial component of your car’s ignition system, responsible for igniting fuel in the engine cylinders. Over time, spark plugs can become worn or clogged, affecting engine performance and fuel efficiency. As a home mechanic, you can save money by changing spark plugs yourself. Here’s a step-by-step guide on how to change spark plugs:
- Start by identifying the location of the spark plugs. They are usually connected to spark plug wires, which transmit the electrical current from the ignition to the plugs.
- With the engine cooled down, remove the spark plug wire one at a time by firmly grasping the boot and pulling it straight off the spark plug.
- Using a spark plug socket and a ratchet, carefully loosen and remove the old spark plug by turning it counterclockwise.
- Inspect the spark plug to assess its condition. Look for signs of wear, such as eroded electrodes or excessive carbon buildup. If needed, refer to your vehicle’s manual or a spark plug reference guide to ensure you select the correct replacement.
- Before installing the new spark plug, check the gap between the center electrode and the ground electrode using a spark plug gap tool. Adjust the gap as necessary to match the manufacturer’s specifications.
- Insert the new spark plug into the socket, and carefully thread it into the spark plug hole by hand. Be cautious not to cross-thread or overtighten the spark plug.
- Once the spark plug is hand-tight, use a torque wrench to tighten it to the manufacturer’s recommended torque specification. This ensures a proper seal and prevents damage to the cylinder head or spark plug.
- Finally, reattach the spark plug wire by pushing it firmly onto the spark plug until it clicks into place.
- Repeat these steps for each spark plug in your vehicle, one at a time, until all of them are changed.
By changing spark plugs regularly, typically every 30,000 to 100,000 miles depending on the type of plug and vehicle, you can maintain efficient combustion and optimize your engine’s performance. Remember to consult your vehicle’s manual for any specific instructions or torque specifications.
Benefits of Changing Spark Plugs
Regularly changing spark plugs offers several benefits:
- Improved fuel efficiency: Worn or dirty spark plugs can cause misfires, which waste fuel. By installing new spark plugs, you can improve fuel efficiency and potentially save money at the pump.
- Enhanced engine performance: Changing spark plugs ensures consistent and reliable combustion, leading to smoother acceleration, reduced hesitation, and increased power.
- Reduced emissions: Properly functioning spark plugs help minimize harmful emissions, contributing to a cleaner environment and compliance with emissions standards.
- Prevention of ignition-related issues: Faulty spark plugs can cause issues such as hard starting, rough idling, and engine misfires. Changing them regularly can help prevent these problems and maintain overall engine health.
Remember, if you’re not comfortable performing this task yourself, it’s always wise to consult a professional mechanic. Additionally, refer to your vehicle’s manual for specific instructions and torque specifications to ensure proper installation.
Spark Plug Comparison
| Spark Plug Brand | Features | Price |
|---|---|---|
| Brand A | Lorem ipsum dolor sit amet, consectetur adipiscing elit. Fusce auctor quam ac lectus laoreet, vitae blandit lorem dapibus. Suspendisse efficitur erat sit amet ligula cursus, vitae ultrices metus condimentum. | $X.XX |
| Brand B | Lorem ipsum dolor sit amet, consectetur adipiscing elit. Fusce auctor quam ac lectus laoreet, vitae blandit lorem dapibus. Suspendisse efficitur erat sit amet ligula cursus, vitae ultrices metus condimentum. | $X.XX |
| Brand C | Lorem ipsum dolor sit amet, consectetur adipiscing elit. Fusce auctor quam ac lectus laoreet, vitae blandit lorem dapibus. Suspendisse efficitur erat sit amet ligula cursus, vitae ultrices metus condimentum. | $X.XX |
Prices may vary depending on the retailer and availability. It’s important to choose spark plugs that are compatible with your vehicle’s make and model. Consult your vehicle’s manual or a trusted mechanic for recommendations on the best spark plugs for your specific needs.
Removing Scratches from Paint
Scratches on your car’s paint can be unsightly, but they don’t have to be expensive to fix. With the right tools and techniques, you can remove minor scratches yourself. There are various methods for removing scratches, including using scratch removal products, polishing compounds, or even DIY remedies like toothpaste and baking soda. Before attempting to remove scratches, assess the severity and test any products on a small, inconspicuous area to ensure they don’t cause further damage.
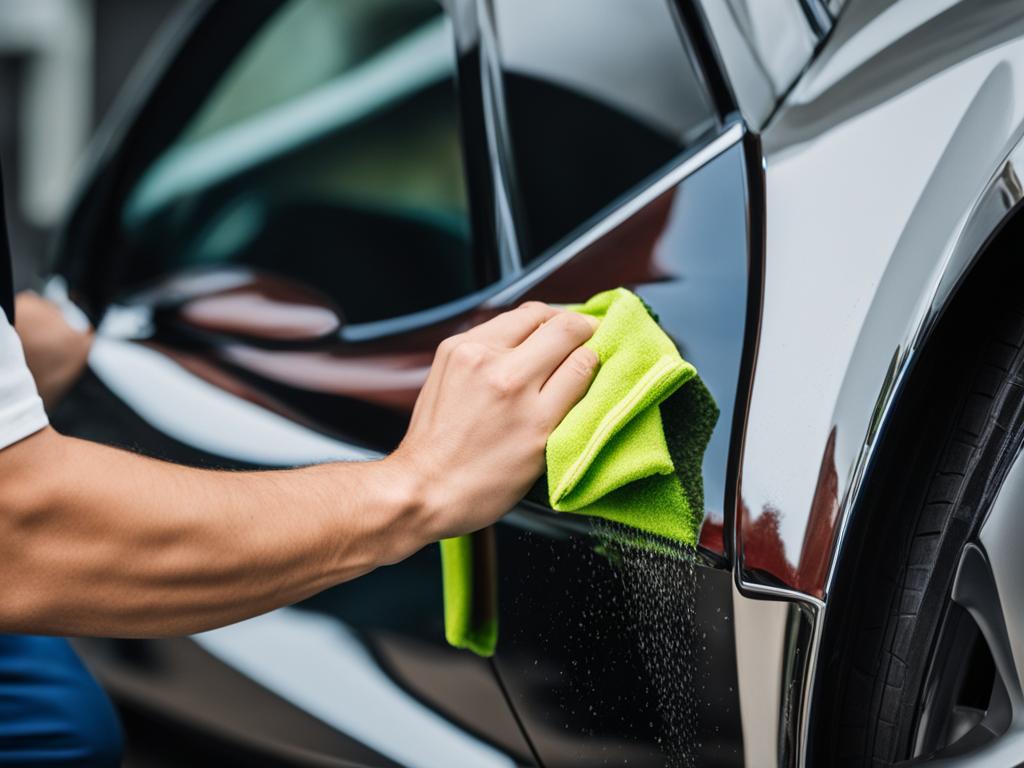
To remove scratches from your car’s paint, you can try the following methods:
- Using scratch removal products: These products are specifically designed to minimize the appearance of scratches. Follow the instructions on the product and apply it gently in circular motions with a microfiber cloth.
- Using polishing compounds: Polishing compounds can help buff out minor scratches. Apply a small amount of compound to a microfiber cloth and work it into the scratched area using gentle circular motions.
- Trying DIY remedies: Some household items like toothpaste or baking soda can be used to remove light scratches. Apply a small amount to a microfiber cloth and rub it into the scratch in gentle circular motions. Note that these remedies may not be as effective as specialized products.
Keep in mind that the effectiveness of these methods may vary depending on the depth and severity of the scratches. For deeper scratches or extensive damage, it’s best to consult a professional body shop for repairs.
Changing a Car Battery
If your car battery dies, knowing how to replace it can save you from being stranded on the road. To change a car battery, you will need basic tools to disconnect the old battery and install the new one. Follow these simple steps to safely complete the battery replacement process:
- Begin by removing any covering from the battery.
- Using a wrench or pliers, disconnect the negative cable (-) from the battery terminal. This is usually marked with a minus sign (-).
- Next, disconnect the positive cable (+) from the battery terminal. This is usually marked with a plus sign (+).
- Remove any screws or brackets that are holding the battery in place. Be careful not to damage any surrounding components.
- Once the old battery is free, carefully lift it out of the battery tray and set it aside.
- Place the new battery into the battery tray, ensuring that it is securely positioned.
- Reattach the screws or brackets to hold the new battery in place.
- Reconnect the positive cable (+) to the positive terminal on the new battery.
- Finally, reconnect the negative cable (-) to the negative terminal on the new battery.
It’s important to dispose of the old battery properly, as it contains hazardous materials. You can take it to a local auto parts store or recycling center that accepts used car batteries.
By following these steps, you can easily change a car battery and ensure your vehicle stays running smoothly. Remember to wear protective gloves and eyewear while handling the battery and tools.
Replacing a Head or Tail Light
Driving with a broken headlight or taillight is not only unsafe but also illegal. As a home mechanic, you have the ability to easily replace a headlight or taillight yourself, saving time and money. By following a few simple steps, you can ensure your vehicle is properly equipped with working lights.
To begin, access the back of the light assembly. This may involve opening the hood or trunk, depending on the location of the light. Once you have access, carefully remove the old bulb or faulty light assembly. Take note of how it is secured in place, as this will help when installing the new light.
Next, acquire a replacement bulb or light assembly that is compatible with your vehicle’s make and model. Consult your owner’s manual or search online for the specific part number or size. It’s important to use the correct replacement to ensure proper fit and functionality.
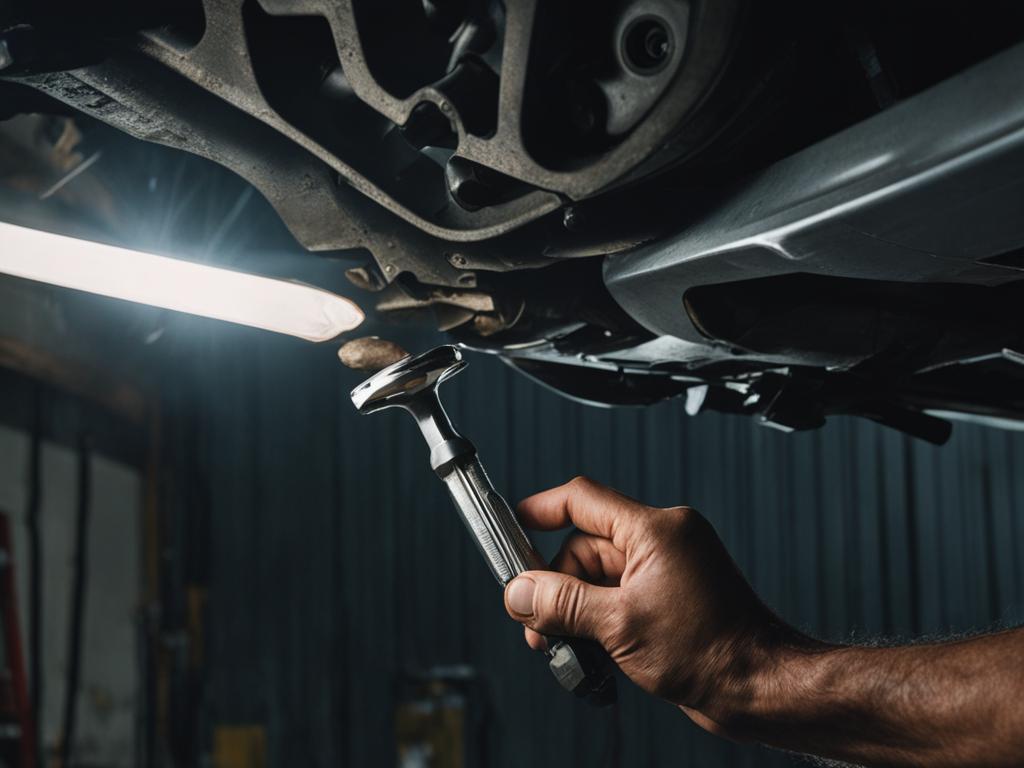
Once you have the new part, insert it into the light assembly, following the instructions provided. Make sure it is secured tightly, as loose connections can lead to malfunctions or failure. Test the new light by turning it on before fully reassembling the assembly. This will allow you to verify its proper functioning before completing the process.
Remember, the specific process for replacing a headlight or taillight may vary depending on your vehicle’s make and model. It’s important to consult your owner’s manual or search online for vehicle-specific instructions or tutorials. By replacing a headlight or taillight yourself, you can ensure the safety and legality of your vehicle’s lighting system, gaining the confidence to tackle more complex DIY auto repairs in the future.
Replacing Wiper Blades
Properly functioning wiper blades are essential for maintaining visibility in rainy weather. Over time, wiper blades can become worn and ineffective, but replacing them is a simple DIY task.
To replace wiper blades, follow these steps:
- Lift the wiper arm away from the windshield.
- Press the release tab to unlock the old blade.
- Remove the old blade by pulling it down and away from the wiper arm.
- Attach the new blade by sliding it into the wiper arm until it clicks into place.
- Repeat the process for the other wiper blade.
Refer to your vehicle’s manual for specific instructions or consult online tutorials for visual guidance.
Ensure you choose the correct size of wiper blades for your vehicle’s make and model to ensure optimal performance.
Replacing Air Filters
Regularly replacing air filters is an essential part of maintaining good air quality and optimal engine performance in your car.
To replace an air filter, follow these steps:
- Locate the air filter unit under the hood of your car.
- Remove the cover of the air filter unit.
- Take out the old filter, being careful not to let any dirt or debris fall into the housing.
- Clean the housing of the air filter unit to remove any accumulated dust or particles.
- Insert the new air filter, making sure it is positioned correctly.
- Replace the cover of the air filter unit.
When choosing a new air filter, ensure you select the correct filter size for your vehicle. Consult your car’s manual or check with a professional if you are unsure.
It is recommended to replace the air filter according to the manufacturer’s recommended interval. This interval can vary depending on driving conditions and the type of air filter used.
By regularly replacing your air filters, you can ensure proper airflow, prevent engine damage, and maintain the overall health of your vehicle.
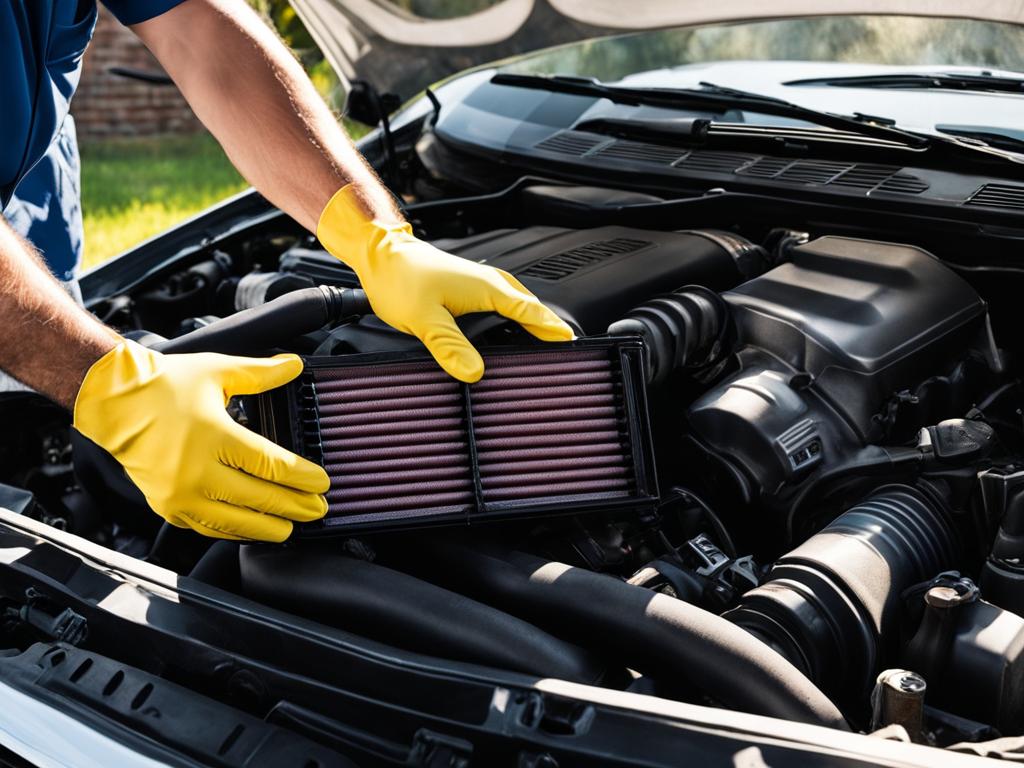
Keeping your car’s air filters clean and well-maintained is crucial for the longevity and performance of your engine. Regularly replacing air filters ensures that your engine receives clean air, which is essential for optimal combustion and fuel efficiency.
“A clean air filter can improve fuel efficiency by up to 14%.”
– Car Maintenance Experts
Dirty or clogged air filters can restrict airflow and lead to reduced engine power, increased fuel consumption, and higher emissions. By replacing air filters at the recommended intervals, you can help prevent these issues and keep your engine running smoothly.
Changing Brake Pads
Brake pads are a critical component of your car’s braking system, ensuring reliable stopping power and safe driving on the road. Knowing how to change brake pads is an important skill for any home mechanic. By following the proper procedure, you can maintain optimal braking performance and avoid costly repairs.
To change brake pads, it is recommended to follow step-by-step tutorials or seek professional guidance if you’re a beginner. The process involves several steps to ensure a successful replacement:
- Begin by safely raising your vehicle and securing it with jack stands.
- Remove the wheels to access the brake caliper and pads.
- Use a suitable tool to retract the brake caliper piston, creating space for the new brake pads.
- Remove the old brake pads by sliding them out of the caliper.
- Carefully install the new brake pads, ensuring they are correctly positioned.
- Reassemble the brake caliper and secure it back in place.
- Repeat the process for all remaining wheels.
It is crucial to use high-quality brake pads that are compatible with your vehicle’s make and model. Substandard pads can compromise braking performance and safety. Additionally, be sure to adhere to the proper torque specifications for the brake caliper and wheel lug nuts to prevent any issues while driving.
By following these steps and taking the necessary precautions, you can confidently change brake pads and maintain optimal braking performance for your vehicle.
Jumpstarting a Car
If your car battery dies and you’re unable to replace it immediately, knowing how to jumpstart your car can get you back on the road.
To jumpstart a car, you will need a set of jumper cables and access to another vehicle with a fully charged battery.
Here’s a step-by-step guide to jumpstarting your car:
- Position both vehicles so that their batteries are close enough for the jumper cables to reach.
- Turn off both vehicles and engage the parking brakes.
- Identify the positive and negative terminals on each car battery. They are usually marked with a plus (+) sign for the positive terminal and a minus (-) sign for the negative terminal.
- Connect the red (positive) cable to the positive terminal of the dead battery.
- Connect the other end of the red (positive) cable to the positive terminal of the working battery.
- Connect the black (negative) cable to the negative terminal of the working battery.
- Connect the other end of the black (negative) cable to an unpainted metal surface on the engine block of the dead car. Avoid the battery, fuel lines, and moving parts.
- Start the vehicle with the working battery and allow it to run for a few minutes.
- Attempt to start the dead car. If it doesn’t start, wait a few more minutes before trying again.
- Once the dead car starts, keep it running for a few minutes to allow the battery to recharge.
- Remove the jumper cables in reverse order, starting with the black (negative) cable from the previously dead car.
Remember to follow the correct safety precautions and consult your vehicle’s manual for specific instructions.
With this knowledge, you’ll be equipped to jumpstart your car and get back on the road without having to wait for a tow truck or a replacement battery.
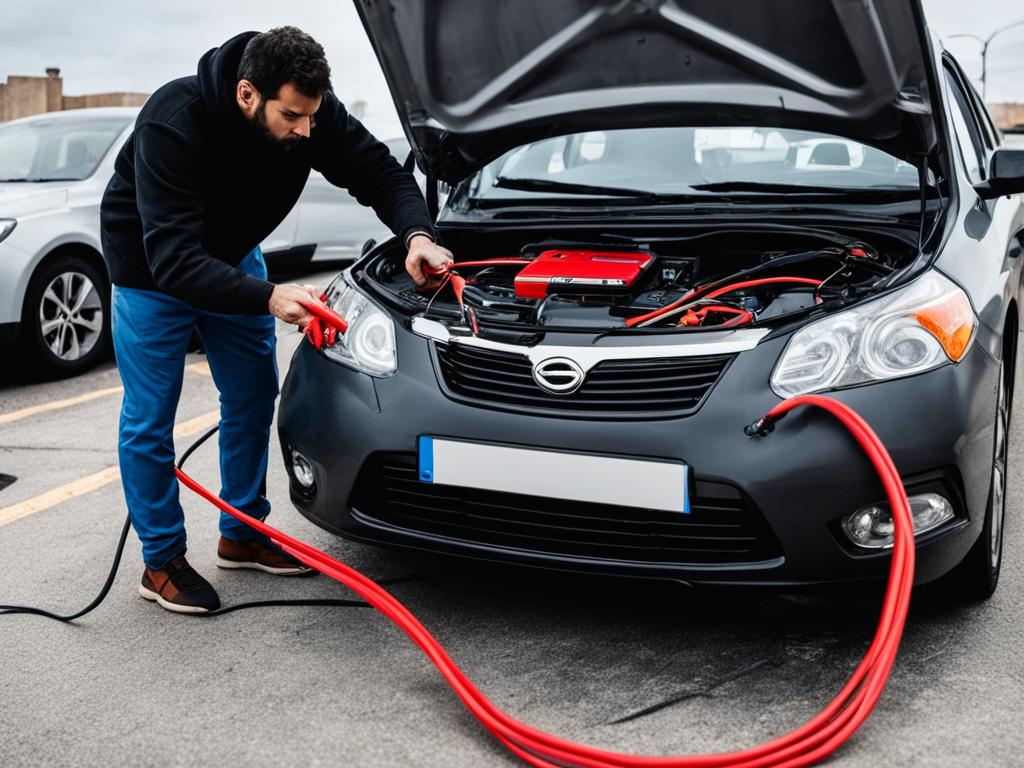
Essential Tools for DIY Auto Maintenance
To become an efficient home mechanic, it’s essential to have the right tools for the job. Equipping yourself with the necessary tools will enable you to perform various DIY auto maintenance tasks with ease and precision. Here are some of the basic tools that should be in your toolbox:
| Tool | Description |
|---|---|
| Vehicle jack | Lifts the vehicle for access to critical components during repairs and maintenance. |
| Tire pressure gauge | Measures the air pressure in your tires, allowing you to maintain optimal tire inflation. |
| Tire iron and breaker bar | Used to loosen and tighten lug nuts when changing tires. |
| Wheel chocks | Prevents the vehicle from rolling while raised on a jack. |
| Torque wrench | Ensures that bolts and nuts are tightened to the manufacturer’s recommended specifications. |
| Spark plug gap tool | Measures and adjusts the gap between the spark plug electrodes for proper ignition. |
| Ratcheting socket wrench set | Allows for easy tightening and loosening of bolts and nuts of various sizes. |
| Pliers | Useful for gripping and turning objects, such as wires or small nuts and bolts. |
| Oil filter wrench | Aids in removing and installing the oil filter during oil changes. |
| Fluid drain pan | Catches and contains fluids during maintenance tasks, preventing spills. |
| Jump-start kit | Enables you to jump-start a dead battery, allowing you to get back on the road. |
| Work light | Provides additional illumination in dimly lit areas, facilitating repairs and inspections. |
| Personal protective equipment | Includes gloves, safety glasses, and other protective gear to ensure your safety during maintenance tasks. |
Having these essential tools in your arsenal will empower you to confidently tackle DIY auto maintenance, saving you time and money in the long run.
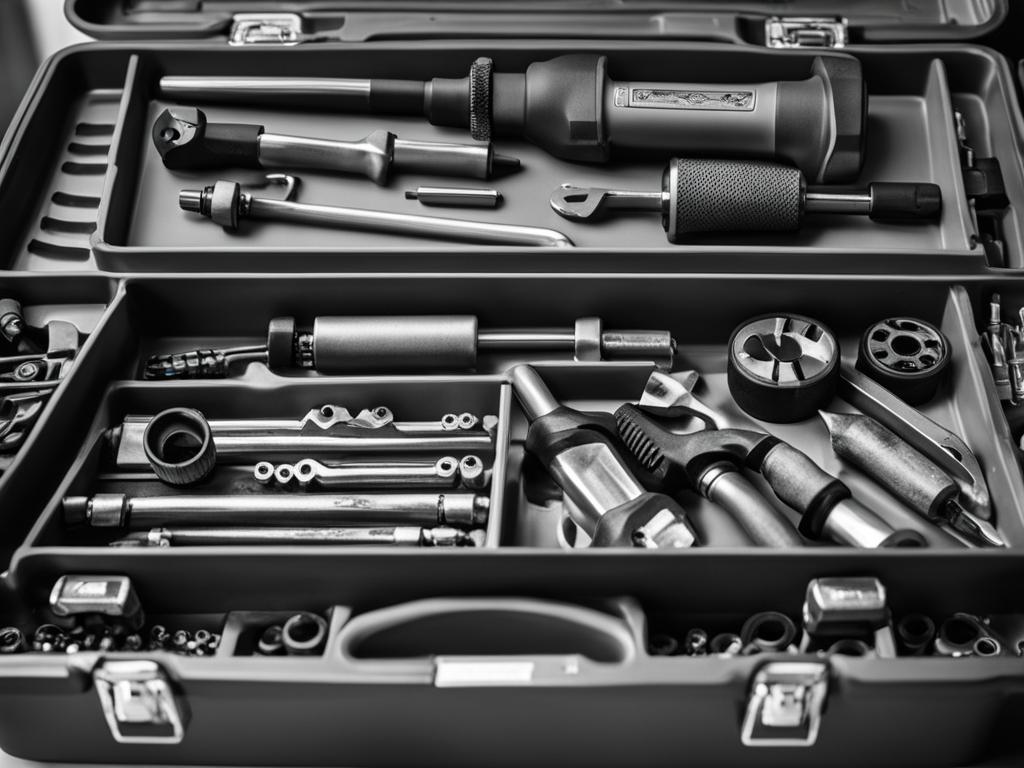
“The right tools for the job can make all the difference in the success of your DIY auto maintenance.”
Importance of Proper Tools for DIY Auto Maintenance
Having the right tools for DIY auto maintenance is crucial for the success and safety of your repairs. When you use appropriate tools, you can complete tasks efficiently and effectively, minimizing the risk of damaging parts or causing accidents.
Investing in quality tools upfront will save you time, frustration, and potentially expensive mistakes in the long run. Here are a few examples of essential tools that every home mechanic should have:
- Vehicle Jack: A vehicle jack allows you to safely lift your car and access critical components for repairs and maintenance.
- Torque Wrench: A torque wrench ensures that you tighten bolts and nuts to the correct specifications, preventing overtightening or undertightening.
- Fluid Drain Pan: A fluid drain pan catches liquids, such as oil or coolant, during maintenance, preventing spills and environmental contamination.
By using these tools and others recommended for specific tasks, you can confidently perform DIY auto maintenance with precision and ease.
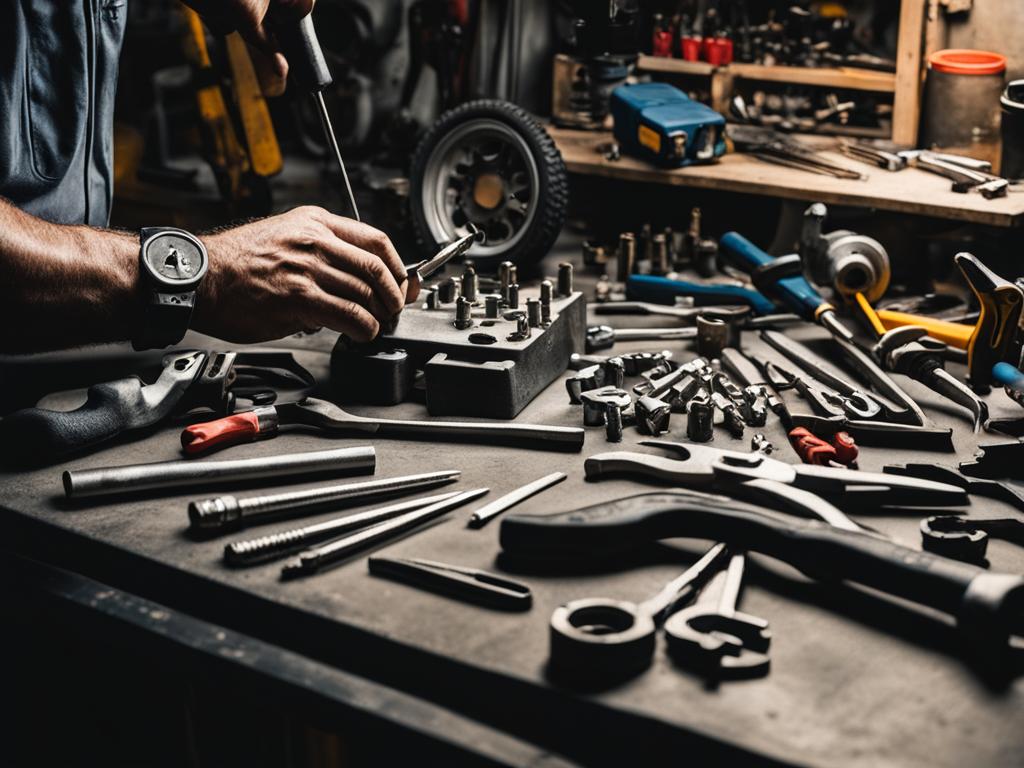
Remember, different repairs may require additional tools, so it’s important to assess the requirements of each task before getting started. Additionally, following proper safety guidelines and consulting reliable sources for instructions will help ensure successful and safe repairs.
Tips for DIY Car Repair Success
DIY car repairs may seem daunting at first, but with the right approach and some handy tips, you can achieve success. Whether you’re a beginner or have some experience, these DIY car repair tips will help you tackle your car maintenance projects like a pro.
1. Educate Yourself
Before starting any DIY car repair, take the time to educate yourself on the specific task you’ll be undertaking. Read your vehicle’s owner’s manual or watch online tutorials to understand the step-by-step process. Knowledge is key when it comes to successful car repairs.
2. Gather the Right Tools
Make sure you have all the necessary tools before starting a DIY repair project. Investing in quality tools will make your job easier and ensure better results. A basic toolkit with items like wrenches, pliers, a socket set, and a jack will go a long way in helping you complete your repairs effectively.
3. Take Safety Precautions
Always prioritize safety when working on your car. Wear protective gear such as gloves and safety glasses to protect yourself from potential hazards. Additionally, use jack stands or wheel blocks to secure your vehicle and prevent it from rolling while you work.
4. Start Small
If you’re new to DIY car repairs, start with smaller tasks that are less complex. Changing wiper blades, replacing headlights, or performing basic maintenance tasks like changing oil or air filters are great starting points. As you gain confidence and experience, you can move on to more challenging repairs.
5. Follow Instructions Carefully
Read and follow instructions carefully to avoid mistakes. Each car repair has its own specific steps and requirements, so make sure you understand them before starting. Rushing through the process may lead to errors or damage, so take your time and be thorough.
6. Keep a Clean and Organized Workspace
A clean and organized workspace will make your DIY car repairs much easier. Keep your tools, parts, and equipment organized and within reach. This will save you time and frustration, allowing you to focus on the task at hand.
7. Practice Regular Maintenance
Prevention is key to keeping your car in good condition. Follow a regular maintenance schedule by checking fluid levels, inspecting belts and hoses, and addressing any issues promptly. Regular maintenance will help you catch problems early on and keep your car running smoothly.
8. Don’t Hesitate to Seek Professional Help
If a repair seems too complex or you’re unsure of how to proceed, it’s best to seek professional help. Some repairs, such as complex electrical issues or advanced engine repairs, may require the expertise of a trained mechanic. Don’t hesitate to take your car to a professional if needed.
By following these DIY car repair tips, you’ll be well on your way to successfully tackling your car maintenance projects. Remember to approach each repair with patience, confidence, and a willingness to learn. With practice, you’ll become a skilled home mechanic, saving money and taking pride in maintaining your vehicle.
Conclusion
Becoming a home mechanic and performing DIY auto repairs can save you money, provide a sense of accomplishment, and empower you to take control of your car’s maintenance. By learning basic car repairs and having the right tools, you can tackle common tasks such as changing oil, replacing brake pads, or fixing a flat tire.
Remember to follow safety guidelines, consult reliable sources for instructions, and gradually build your skills. With practice and patience, you’ll become a proficient home mechanic, keeping your vehicle in optimal condition and saving on car repairs.
So why wait? Take the leap into the world of DIY auto repair and unleash your inner home mechanic. Whether it’s changing the oil or fixing a headlight, you have the potential to handle various maintenance tasks yourself. Not only will you save money, but you’ll also gain valuable knowledge and the satisfaction of a job well done. Start small, build your confidence, and become the go-to person when it comes to maintaining your car. Happy DIY repairing!
FAQ
What are some essential home mechanic tips for DIY repairs?
Learning basic car repairs and having the right tools can go a long way in keeping your vehicle running smoothly and saving on car repairs.
How do I change the oil in my car?
To change the oil, you will need a new oil filter, the appropriate amount of oil for your vehicle, and basic tools to remove the oil drain plug. Follow online videos or consult your vehicle’s owner’s manual for step-by-step instructions.
What do I need to change a flat tire?
To change a flat tire, you will need a tire jack, a lug wrench, and a spare tire. Follow video tutorials or refer to your vehicle’s owner’s manual for the correct procedure.
How do I change spark plugs?
To change spark plugs, locate the spark plug wire, remove the old spark plug, insert the new one, and reconnect the spark plug wire. Follow tutorials or consult your vehicle’s manual for specific steps and torque specifications.
How can I remove scratches from my car’s paint?
There are various methods for removing scratches, including using scratch removal products, polishing compounds, or DIY remedies like toothpaste and baking soda. Assess the severity of the scratches and test any products on a small area first.
How do I change a car battery?
To change a car battery, you will need basic tools to disconnect the old battery and install the new one. Follow specific instructions from your vehicle’s manual and dispose of the old battery properly.
How do I replace a headlight or taillight?
Start by accessing the back of the light assembly, remove the old bulb or faulty assembly, and replace it with a new one. Consult your owner’s manual or online tutorials for specific instructions.
How do I replace wiper blades?
Lift the wiper arm away from the windshield, press the release tab, and remove the old blade. Attach the new blade by sliding it into the wiper arm until it clicks into place. Refer to your vehicle’s manual or online tutorials for specific instructions.
How often should I replace the air filter in my car?
Regularly replacing the air filter is crucial for maintaining good air quality and optimal engine performance. Consult your vehicle’s manual for the recommended replacement interval.
How do I change brake pads?
Changing brake pads involves removing the wheels, retracting the brake caliper, replacing the old brake pads, and reassembling the components. Follow step-by-step tutorials or seek professional guidance if you’re a beginner.
How do I jumpstart a car?
To jumpstart a car, you will need a set of jumper cables and access to another vehicle with a fully charged battery. Connect the positive and negative terminals of the batteries using the jumper cables, ensuring the proper sequence, and try starting the car. Follow safety precautions and consult your vehicle’s manual for specific instructions.
What are some essential tools for DIY auto maintenance?
Essential tools include a vehicle jack, tire pressure gauge, tire iron and breaker bar, wheel chocks, torque wrench, spark plug gap tool, ratcheting socket wrench set, pliers, oil filter wrench, fluid drain pan, jump-start kit, work light, and personal protective equipment.
Why is it important to have the right tools for DIY auto maintenance?
Using appropriate tools ensures that you can complete tasks efficiently and effectively, minimizing the risk of damaging parts or causing accidents. Investing in quality tools upfront will save you time, frustration, and potentially expensive mistakes in the long run.
What are some tips for DIY car repair success?
Follow safety guidelines, consult reliable sources for instructions, and gradually build your skills. With practice and patience, you’ll become a proficient home mechanic, keeping your vehicle in optimal condition and saving on car repairs.
How can becoming a home mechanic benefit me?
Becoming a home mechanic and performing DIY auto repairs can save you money, provide a sense of accomplishment, and empower you to take control of your car’s maintenance.

