Guide on How to Clean P-Trap Without Removing it – Simple Steps
The P-trap is a u-shaped pipe that prevents sewer gases from coming back up the drain and into your home. Cleaning the P-trap without removing it can help maintain your plumbing system. Here are the steps to clean the P-trap without removing it:
Key Takeaways:
- Cleaning the P-trap without removing it is a simple and effective way to maintain your plumbing system.
- Regular maintenance of your P-trap will help keep your drains flowing smoothly and prevent any potential plumbing issues.
- Symptoms of a clogged P-trap include slow draining sinks, foul odors, gurgling sounds, and water backup in the sink or bathtub.
- Boiling water and plunging the sink are two methods that can be used to unclog the P-trap without removing it.
- It is recommended to clean the P-trap once every three months to prevent clogs and maintain the proper functioning of your drains.
Removing Debris Using a Coat Hanger or Wire
One of the simplest and most effective methods to unclog a P-trap without removing it is by using a coat hanger or wire to remove debris. This method is particularly useful for removing clumps of hair, paper, or other obstructions that may be causing the clog.
To begin, unwind a metal coat hanger or find a piece of wire that is long enough to reach the clog in the drain. Bend one end of the hanger or wire into a small hook shape. Insert the hook end into the drain and use it to pull out the obstructions. Be careful not to push the debris further into the pipe.
This simple technique allows you to physically remove the clog without having to disassemble the P-trap. It is a quick and effective solution for unclogging your drain and restoring proper flow.
Benefits of Removing Debris Using a Coat Hanger or Wire
- Requires no disassembly of the P-trap
- Effectively removes hair, paper, and other obstructions
- Quick and easy solution to unclog the drain
Summary
Using a coat hanger or wire to remove debris is a simple and effective method to unclog a P-trap without removing it. By inserting the hook end into the drain and pulling out clumps of hair or other obstructions, you can quickly restore proper flow in your drain. This method is particularly useful for removing common clogs caused by hair and paper. Remember to be cautious and avoid pushing the debris further into the pipe. Regular maintenance of your P-trap will help prevent clogs and ensure the proper functioning of your plumbing system.
Pouring Boiling Water to Clear the P-Trap
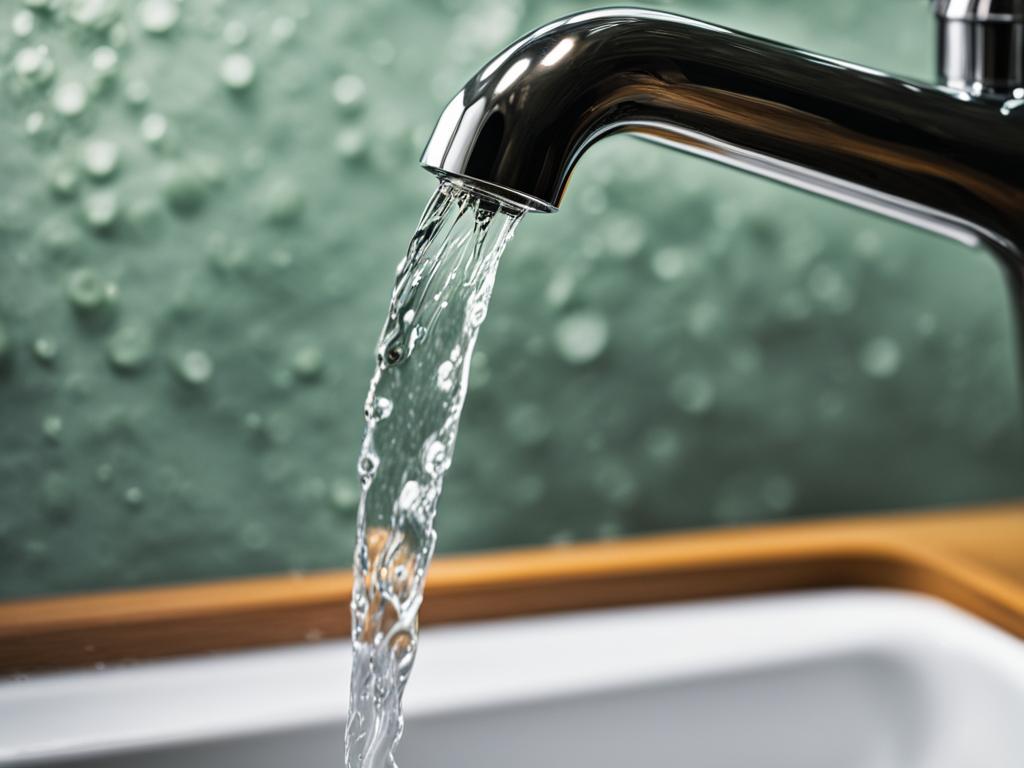
The P-trap is an essential component of your plumbing system, and keeping it clean is important for preventing clogs and maintaining smooth drainage. One simple and effective method to clean the P-trap without removing it is by pouring boiling water down the drain. This easy technique helps dissolve any greasy residue and keeps your P-trap functioning optimally.
To begin, boil 5 cups of water on the stove or in an electric kettle. Once the water has reached a rolling boil, carefully pour half of it down the drain. The hot water helps break down any built-up grease or residue that may be clogging your P-trap.
It’s important to reserve the other half of the boiling water for later use. After a few minutes, flush the drain with the remaining hot water. This step further clears out any remaining debris and helps ensure a thorough cleaning of the P-trap.
Remember, pouring boiling water down the drain should only be done on metal or plastic pipes. Avoid using this method on porcelain or ceramic sinks to prevent any potential damage. By regularly incorporating this simple cleaning technique into your maintenance routine, you can keep your P-trap clear of clogs and maintain a healthy plumbing system.
Benefits of Pouring Boiling Water
Using boiling water to clean the P-trap offers several benefits:
- Easy and convenient method: Pouring boiling water down the drain is a quick and hassle-free way to clean the P-trap without disassembling any components or using harsh chemicals.
- Effective grease removal: The heat from the boiling water helps dissolve and remove stubborn grease and residue that may accumulate in the P-trap.
- Prevents clogs: Regularly cleaning the P-trap with boiling water helps prevent clogs by clearing away debris and maintaining smooth drainage.
- No additional costs: Boiling water is readily available in most households, making it a cost-effective solution for P-trap cleaning.
| Pros | Cons |
|---|---|
|
|
Plunging the Sink to Remove Clogs
When faced with a clogged P-trap, plunging the sink can be an effective DIY solution. This method uses suction to dislodge the clog and restore proper drainage. Here are the steps to plunge your sink and remove the clog:
Gather the necessary tools:
- A plunger
- A bucket or towel
Follow these steps:
- Fill the sink with enough water to cover the plunger.
- Place the plunger over the drain, ensuring a tight seal.
- Using firm and vigorous up-and-down motions, plunge the sink for at least 20 seconds.
- Release the plunger to create additional pressure and dislodge the clog.
- Repeat the plunging process until the water begins to drain smoothly.
Plunging the sink is an effective method for removing clogs in the P-trap without the need for removal. It is important to remember to use firm and consistent motions to generate enough suction to dislodge the clog. If the clog persists after multiple attempts, it may be necessary to try alternative methods or seek professional assistance.
By following these steps, you can successfully clear a clogged P-trap using the plunging method. Remember to exercise caution and ensure a proper seal with the plunger to maximize the effectiveness of this technique. Regular maintenance and cleaning of your P-trap are essential to prevent clogs and keep your plumbing system functioning efficiently.
Cleaning the P-Trap Manually
If you prefer a more hands-on approach to cleaning your P-trap, you can follow these simple steps to manually remove debris and residue. Remember to turn off the water faucet before beginning the cleaning process.
1. Place a bucket under the P-trap: To catch any water and debris, position a bucket directly beneath the P-trap.
2. Loosen the slip joint nuts: Use a wrench to loosen the slip joint nuts on each end of the P-trap. This will allow you to remove the P-trap from the plumbing system.
3. Empty the P-trap contents: Once the slip joint nuts are loosened, remove the P-trap and empty its contents into the bucket. This may include hair, soap residue, or other debris that has accumulated.
4. Manually clean the debris: Take the opportunity to manually clean out any visible debris that may be stuck in the P-trap. You can use gloves or a small brush to remove any stubborn residue.
5. Scrub the inside of the P-trap: Use a flexible wire brush to scrub the inside of the P-trap and remove any remaining residue. This will help ensure that the P-trap is thoroughly cleaned.
Now that you have cleaned the P-trap, you can proceed to reassemble it following the steps outlined in Section 6. By manually cleaning the P-trap, you can remove stubborn debris and maintain the efficiency of your plumbing system.
Table: Common Debris Found in P-Traps
| Debris | Description |
|---|---|
| Hair | Long strands of hair can accumulate in the P-trap, causing clogs and slow drainage. |
| Soap Residue | Soap scum can build up over time, leading to blockages in the P-trap. |
| Food Particles | In kitchen sinks, small food particles can collect in the P-trap and cause unpleasant odors. |
| Mineral Deposits | Hard water can leave mineral deposits in the P-trap, reducing water flow and causing clogs. |
Reassembling the P-Trap
After cleaning the P-trap manually, it’s time to reassemble it to ensure proper functioning of your plumbing system. Follow these steps to put the P-trap back together:
- Place the slip joint nuts onto the tail and waste pipes first.
- Slip the O-rings back onto the tail and waste pipes.
- Insert the P-trap between the tail and waste pipes.
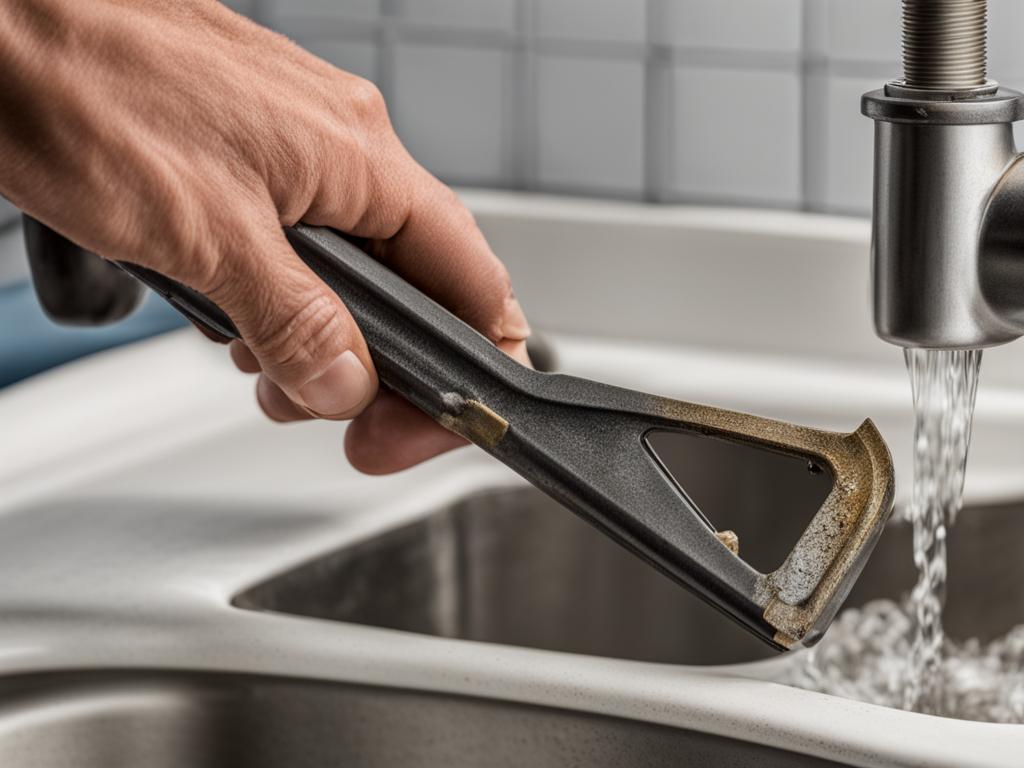
- Use your hands to tighten the slip joint nuts over the ends of the P-trap.
- Finish tightening the slip joint nuts with pliers or an adjustable wrench.
Ensure that the slip joint nuts are securely tightened to prevent any leaks. If necessary, you can use Teflon tape to provide a better seal.
Reassembling the P-trap is an essential step to complete the cleaning process. It ensures that the P-trap is properly aligned and sealed to prevent any leaks or unwanted odors.
Importance of Proper Reassembling
Properly reassembling the P-trap is crucial for maintaining the integrity of your plumbing system. A poorly reassembled P-trap can lead to leaks, which can cause water damage and mold growth.
By following the correct steps and tightening the slip joint nuts securely, you can ensure that the P-trap functions effectively in preventing sewer gases from entering your home.
“A leaky P-trap can not only cause water damage but also compromise the efficiency of your plumbing system. It’s important to take the time to properly reassemble the P-trap to avoid any potential issues.”
Take the time to double-check that the slip joint nuts are tightened properly after reassembling the P-trap. This will give you peace of mind and confidence in the integrity of your plumbing system.
Cleaning the P-Trap: Testing for Leaks
After you have successfully cleaned the P-trap without removing it, it is important to test for leaks to ensure everything is in proper working order. Leaks can lead to water damage and potential plumbing issues if left undetected. Here are the steps to test for leaks:
- Turn on the water faucet and let it run for 15 seconds. This will simulate normal water flow.
- Inspect the slip joint nuts for any signs of leakage. These nuts are located on each end of the P-trap and are responsible for creating a watertight seal. Look for any drips, drops, or moisture around the nuts.
- If you notice any leaks, use your hands to tighten the slip joint nuts further. Make sure they are snug but avoid over-tightening, as this can damage the plumbing fittings.
- If tightening the slip joint nuts doesn’t resolve the leakage issue, you can use Teflon tape for a better seal. Wrap the tape around the threads of the slip joint nuts and then tighten them again.
By testing for leaks and taking appropriate measures to address them, you can ensure that your P-trap is functioning efficiently and effectively. Regular maintenance and inspections will help prevent future leaks and maintain the integrity of your plumbing system.
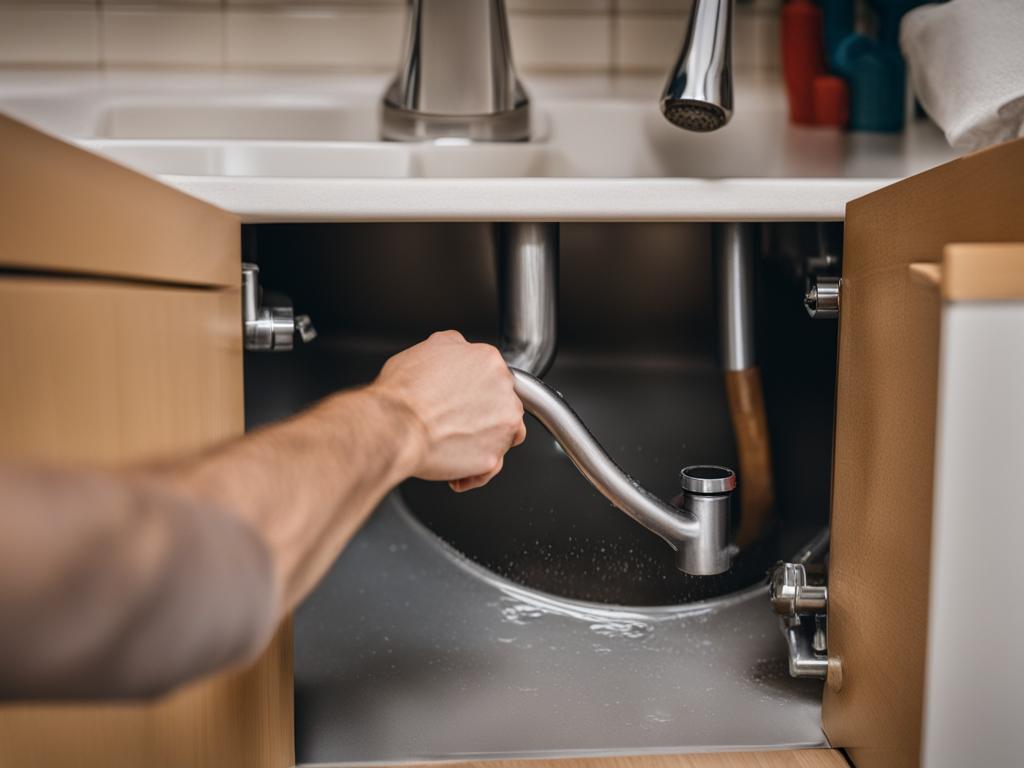
Table: Common Causes of P-Trap Leaks
| Cause | Solution |
|---|---|
| Loose slip joint nuts | Tighten the nuts by hand or with pliers |
| Worn-out rubber gaskets or O-rings | Replace the gaskets or O-rings with new ones |
| Clogged or damaged P-trap | Clean or replace the P-trap as necessary |
| Incorrect installation | Consult a professional plumber to reinstall the P-trap correctly |
Identifying the cause of a P-trap leak is crucial in determining the appropriate solution. In some cases, a simple tightening of the slip joint nuts may do the trick, while in others, a more extensive repair or replacement may be required. If you are unsure about how to address a P-trap leak, it is always best to seek the assistance of a qualified plumber.
When to Clean the P-Trap
Regular maintenance of the P-trap is essential to ensure the proper functioning of your drains and prevent potential clogs. Cleaning the P-trap once every three months is recommended to keep your plumbing system in top condition.
Over time, debris such as hair, soap scum, and food particles can accumulate in the P-trap, leading to slow draining sinks, foul odors, gurgling sounds, and even water backup in the sink or bathtub. By cleaning the P-trap regularly, you can prevent these issues and maintain smooth drainage.
It is important to note that the frequency of cleaning may vary depending on your specific circumstances. If you notice any signs of a clogged P-trap, it is advisable to clean it immediately to prevent further problems.
| Signs of a Clogged P-Trap |
|---|
| Slow draining sinks |
| Foul odors |
| Gurgling sounds |
| Water backup in the sink or bathtub |
Signs of a Clogged P-Trap
Regular maintenance of your P-trap is essential to prevent clogs and maintain the proper functioning of your drains. However, if you neglect cleaning your P-trap, it can become clogged over time. Here are some signs that indicate your P-trap may be clogged:
- Slow Draining Sinks: If you notice that water is taking longer to drain from your sinks, it may be an indication that your P-trap is clogged. The accumulation of debris can restrict the flow of water, causing slow drainage.
- Foul Odors: A clogged P-trap can trap food particles, hair, and other debris, creating a breeding ground for bacteria. This can lead to foul odors emanating from your drains. If you detect unpleasant smells coming from your sink or bathtub, it’s likely a sign of a clogged P-trap.
- Gurgling Sounds: When your P-trap is obstructed, air bubbles can form in the trapped water, resulting in gurgling sounds when you run water down the drain. These noises usually indicate a partial or complete clog in the P-trap.
- Water Backup: In severe cases, a clogged P-trap can cause water to back up into the sink or bathtub. This can be a major inconvenience and may require immediate attention to avoid flooding.
If you observe any of these signs, it’s important to address the issue promptly. Cleaning the P-trap without removing it can help resolve minor clogs. However, if the clog persists or if you’re unsure about performing the cleaning yourself, it’s advisable to seek professional assistance to avoid further damage to your plumbing system.
Related: How to Clean P-Trap Without Removing it – Simple Steps
Regular maintenance of your P-trap is essential to prevent clogs and maintain the proper functioning of your drains. By following the steps outlined in our guide on how to clean the P-trap without removing it, you can easily remove debris and keep your plumbing system in good condition.
Conclusion
Keeping your plumbing system in good condition is essential for a hassle-free home. Regular maintenance of your P-trap is an important part of this upkeep. By following the simple steps outlined in this guide, you can easily clean your P-trap without removing it, ensuring that your drains remain clear and free from clogs.
By removing debris using a coat hanger or wire, pouring boiling water, plunging the sink, or manually cleaning the P-trap, you can prevent sewer gases from entering your home and maintain the proper functioning of your drains. These methods are not only effective but also easy to perform, making them accessible to anyone.
Remember to test for leaks after reassembling the P-trap, and if needed, further tighten the slip joint nuts or use Teflon tape for a better seal. Additionally, it is recommended to clean the P-trap once every three months to prevent clogs and ensure that your drains continue to flow smoothly.
Maintaining your P-trap is an important aspect of overall home maintenance. By adopting these practices, you can avoid the inconvenience and expense of dealing with clogged drains and sewer backups. With regular care and attention, your plumbing system will remain efficient, allowing you to enjoy a clean and functional home for years to come.
FAQ
How often should I clean the P-trap?
It is recommended to clean the P-trap once every three months to prevent clogs and maintain the proper functioning of your drains.
What are the signs of a clogged P-trap?
Signs of a clogged P-trap include slow draining sinks, foul odors, gurgling sounds, and water backup in the sink or bathtub.
How can I remove debris from the P-trap without removing it?
You can use a metal coat hanger or wire to create a small hook shape and pull out clumps of hair, paper, or other obstructions from the drain.
How does pouring boiling water help clear the P-trap?
Boiling water helps dissolve any greasy residue in the P-trap, making it easier to remove and prevent clogs.
Can I use a plunger to remove clogs in the P-trap?
Yes, you can fill the sink with water, covering the plunger, and use it to create suction and dislodge the clog in the P-trap.
How do I clean the P-trap manually?
To clean the P-trap manually, you need to turn off the water faucet, place a bucket under the P-trap to catch water and debris, loosen the slip joint nuts on each end of the P-trap, remove the P-trap, empty its contents into the bucket, and then clean out any visible debris manually using a flexible wire brush.
How do I reassemble the P-trap after cleaning?
To reassemble the P-trap, you need to place the slip joint nuts onto the tail and waste pipes first, slip the O-rings back onto the tail and waste pipes, insert the P-trap between the tail and waste pipes, use your hands to tighten the slip joint nuts over the ends of the P-trap, and then finish tightening the slip joint nuts with pliers or an adjustable wrench.
How can I test for leaks in the P-trap?
After reassembling the P-trap, you can turn on the water faucet and let it run for 15 seconds, then check for leaks around the slip joint nuts. If there are leaks, you can tighten the slip joint nuts further or use Teflon tape for a better seal.

